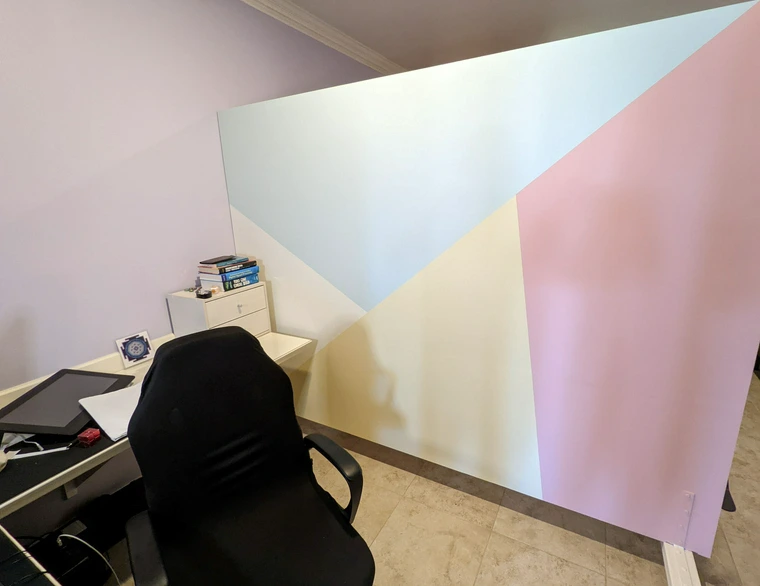
Step into my home office. Have a look around. Vibrant, modern, and you'd never really suspect a thing, would you? This is what my clients see.
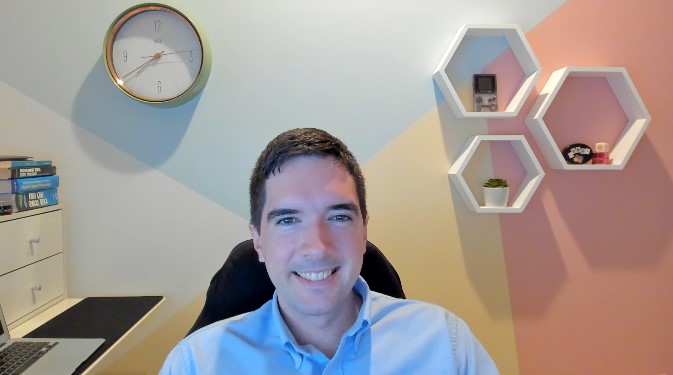
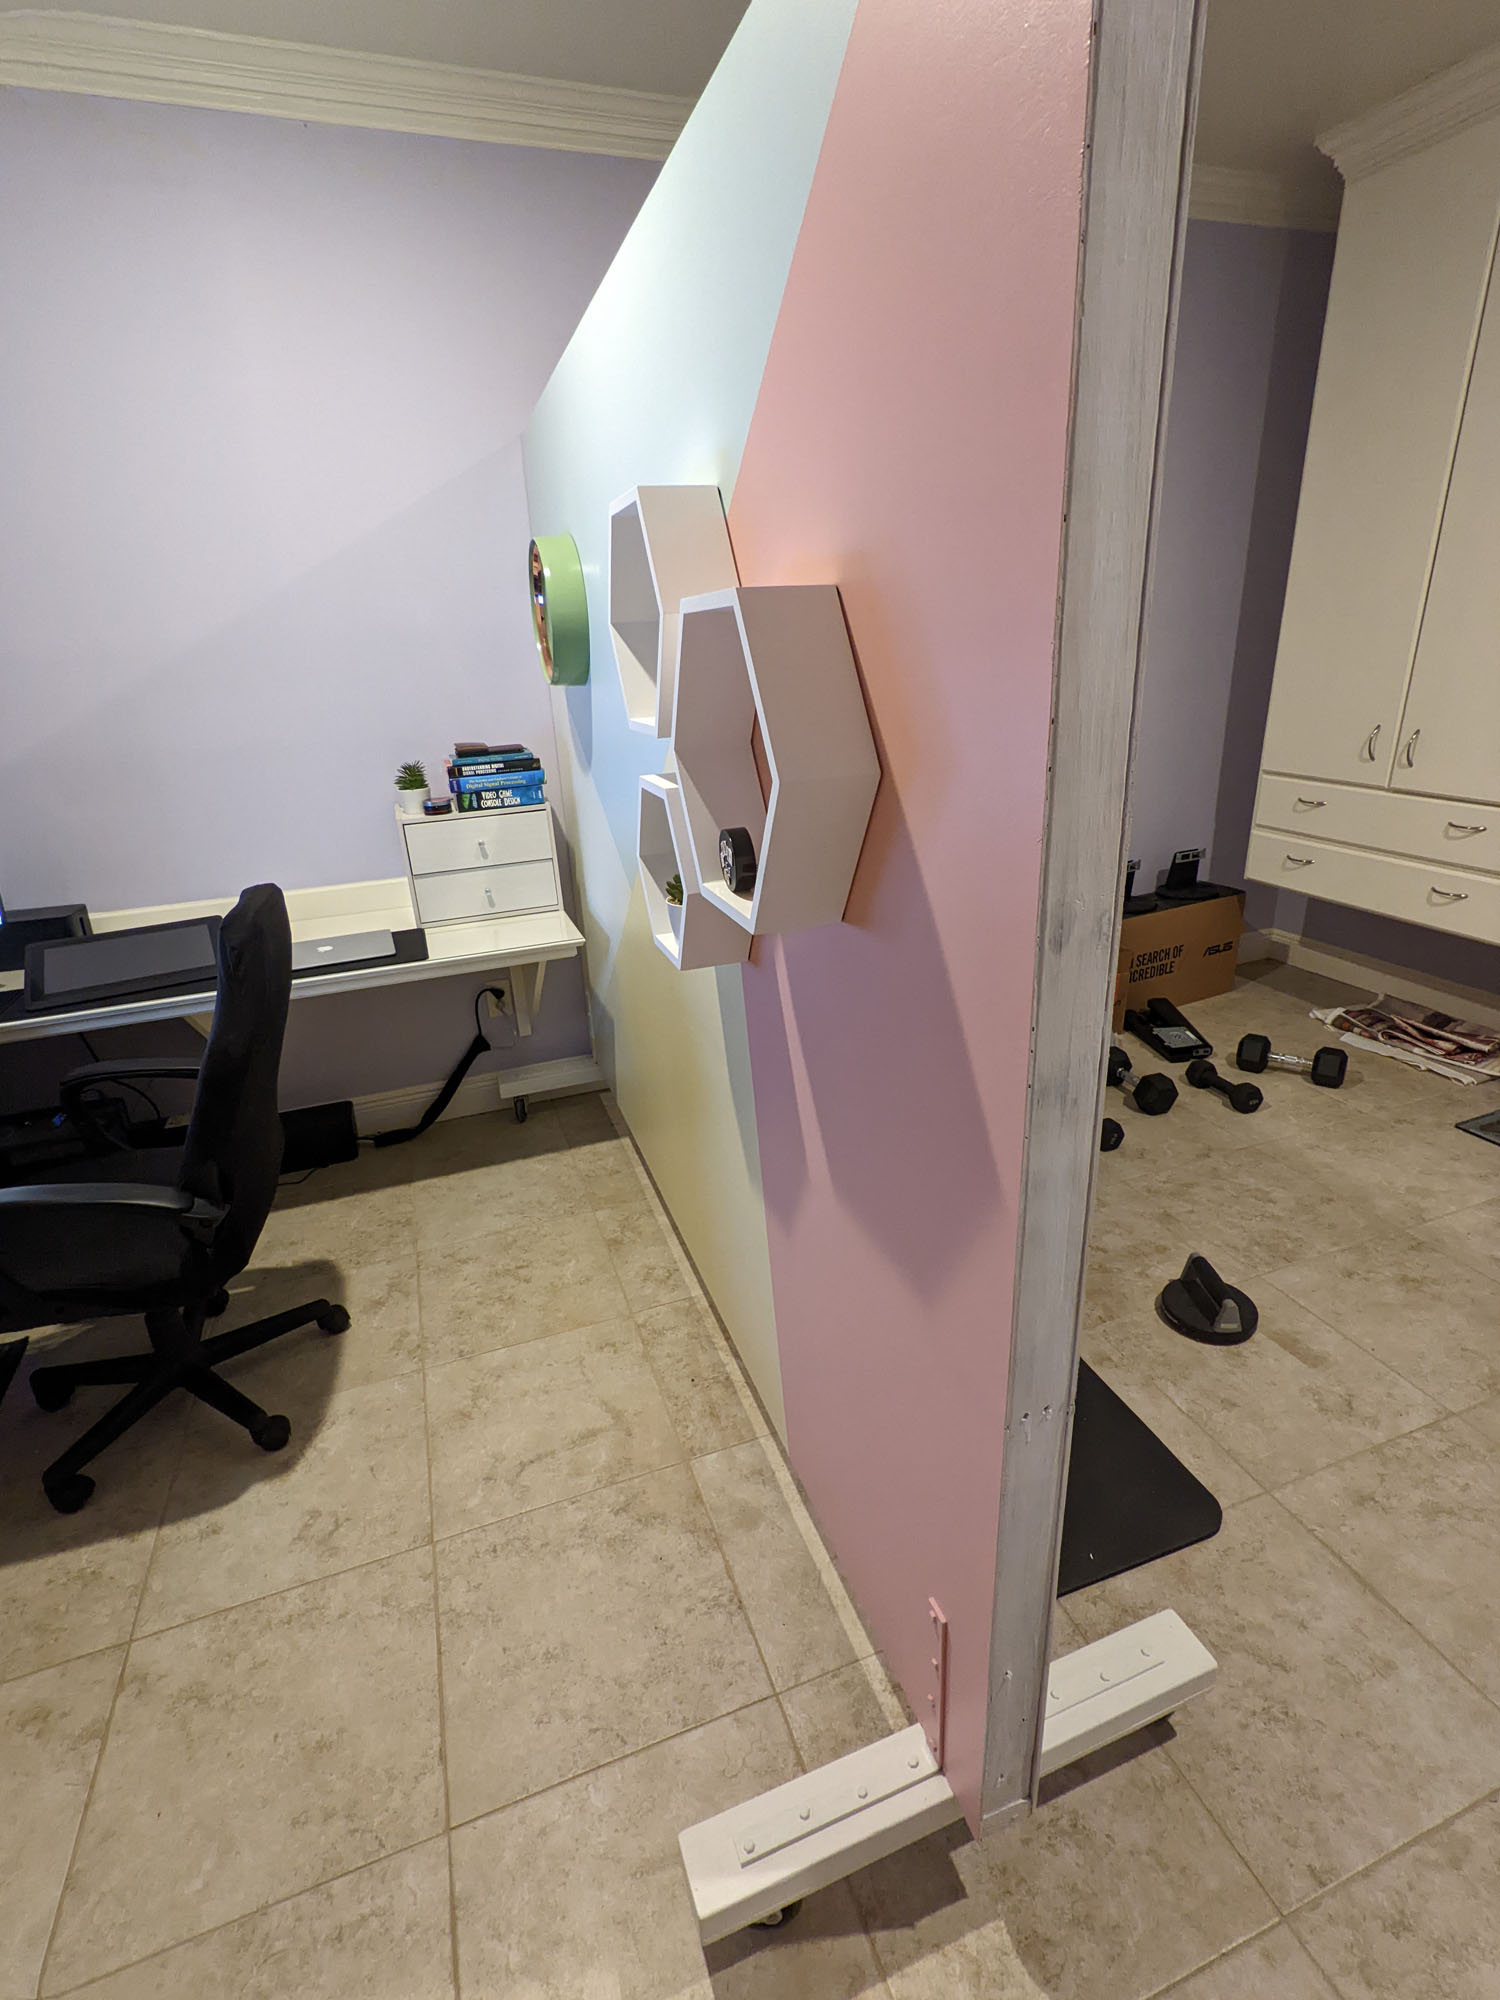
But the wall is actually only as tall as my webcam's line of sight, and it's on wheels.
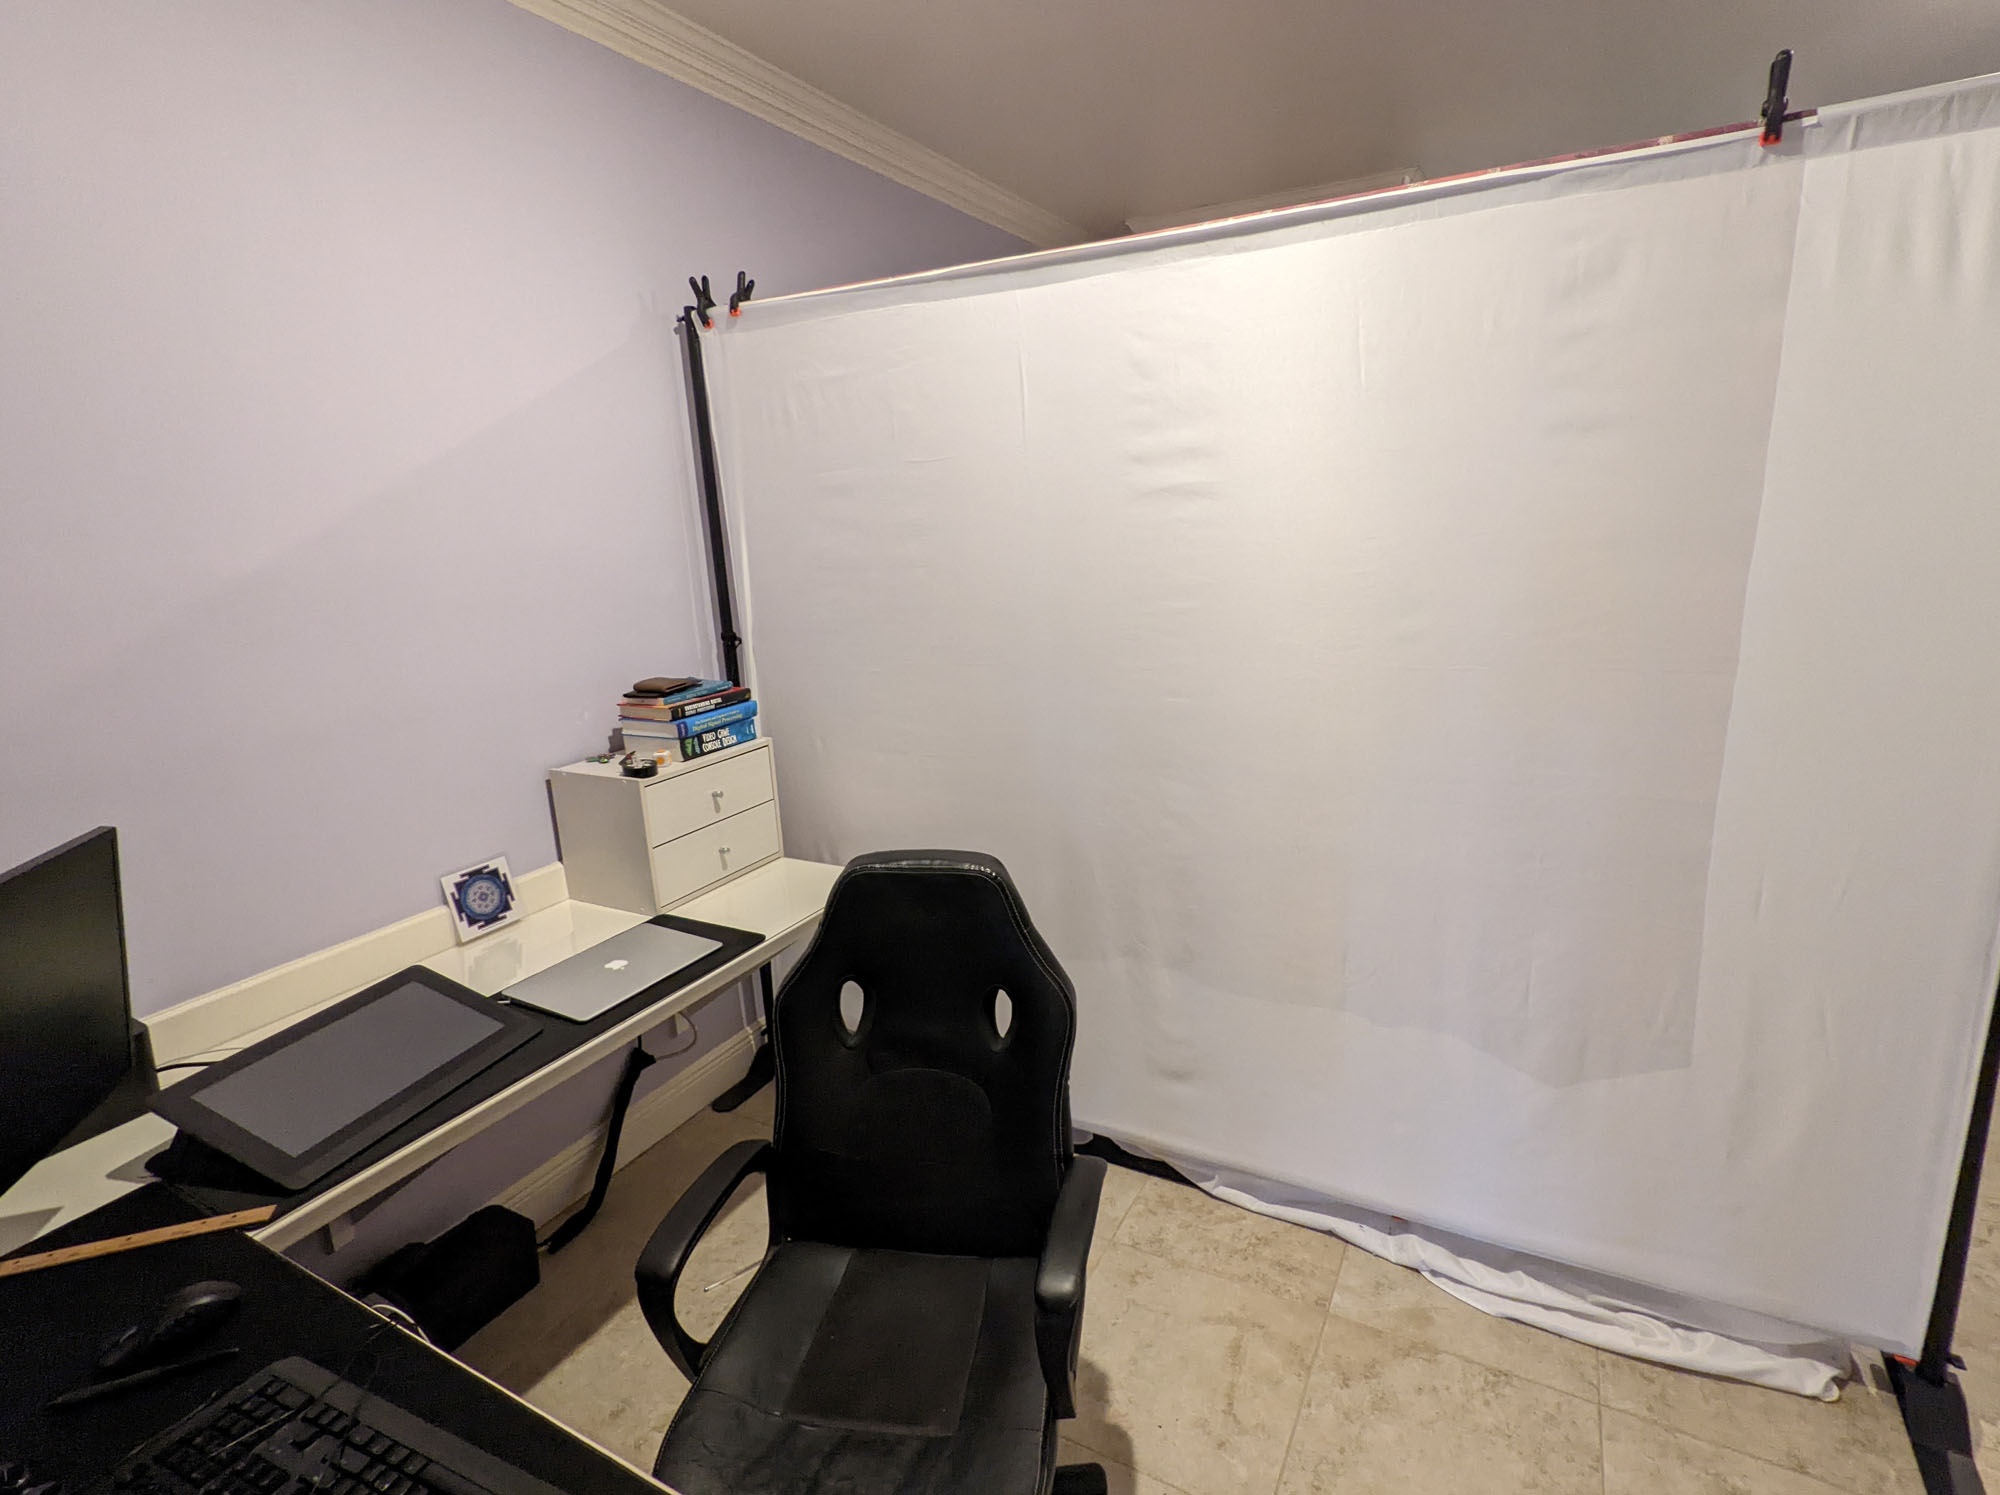
This was a fun project of mine back in early 2022. I was feeling that my old backdrop was a little too bland, and plus, it'd flutter when even the slightest gust came in, no matter how tight I tried to clamp it.
A white sheet on a frame for a backdrop, when I have a background in construction?? Surely I could do better.
I did a little digging around first for inspiration. I came across this video from DIY creators showing the recipe which I fell in love with instantly. After leaving a small donation for their channel, I got to work.
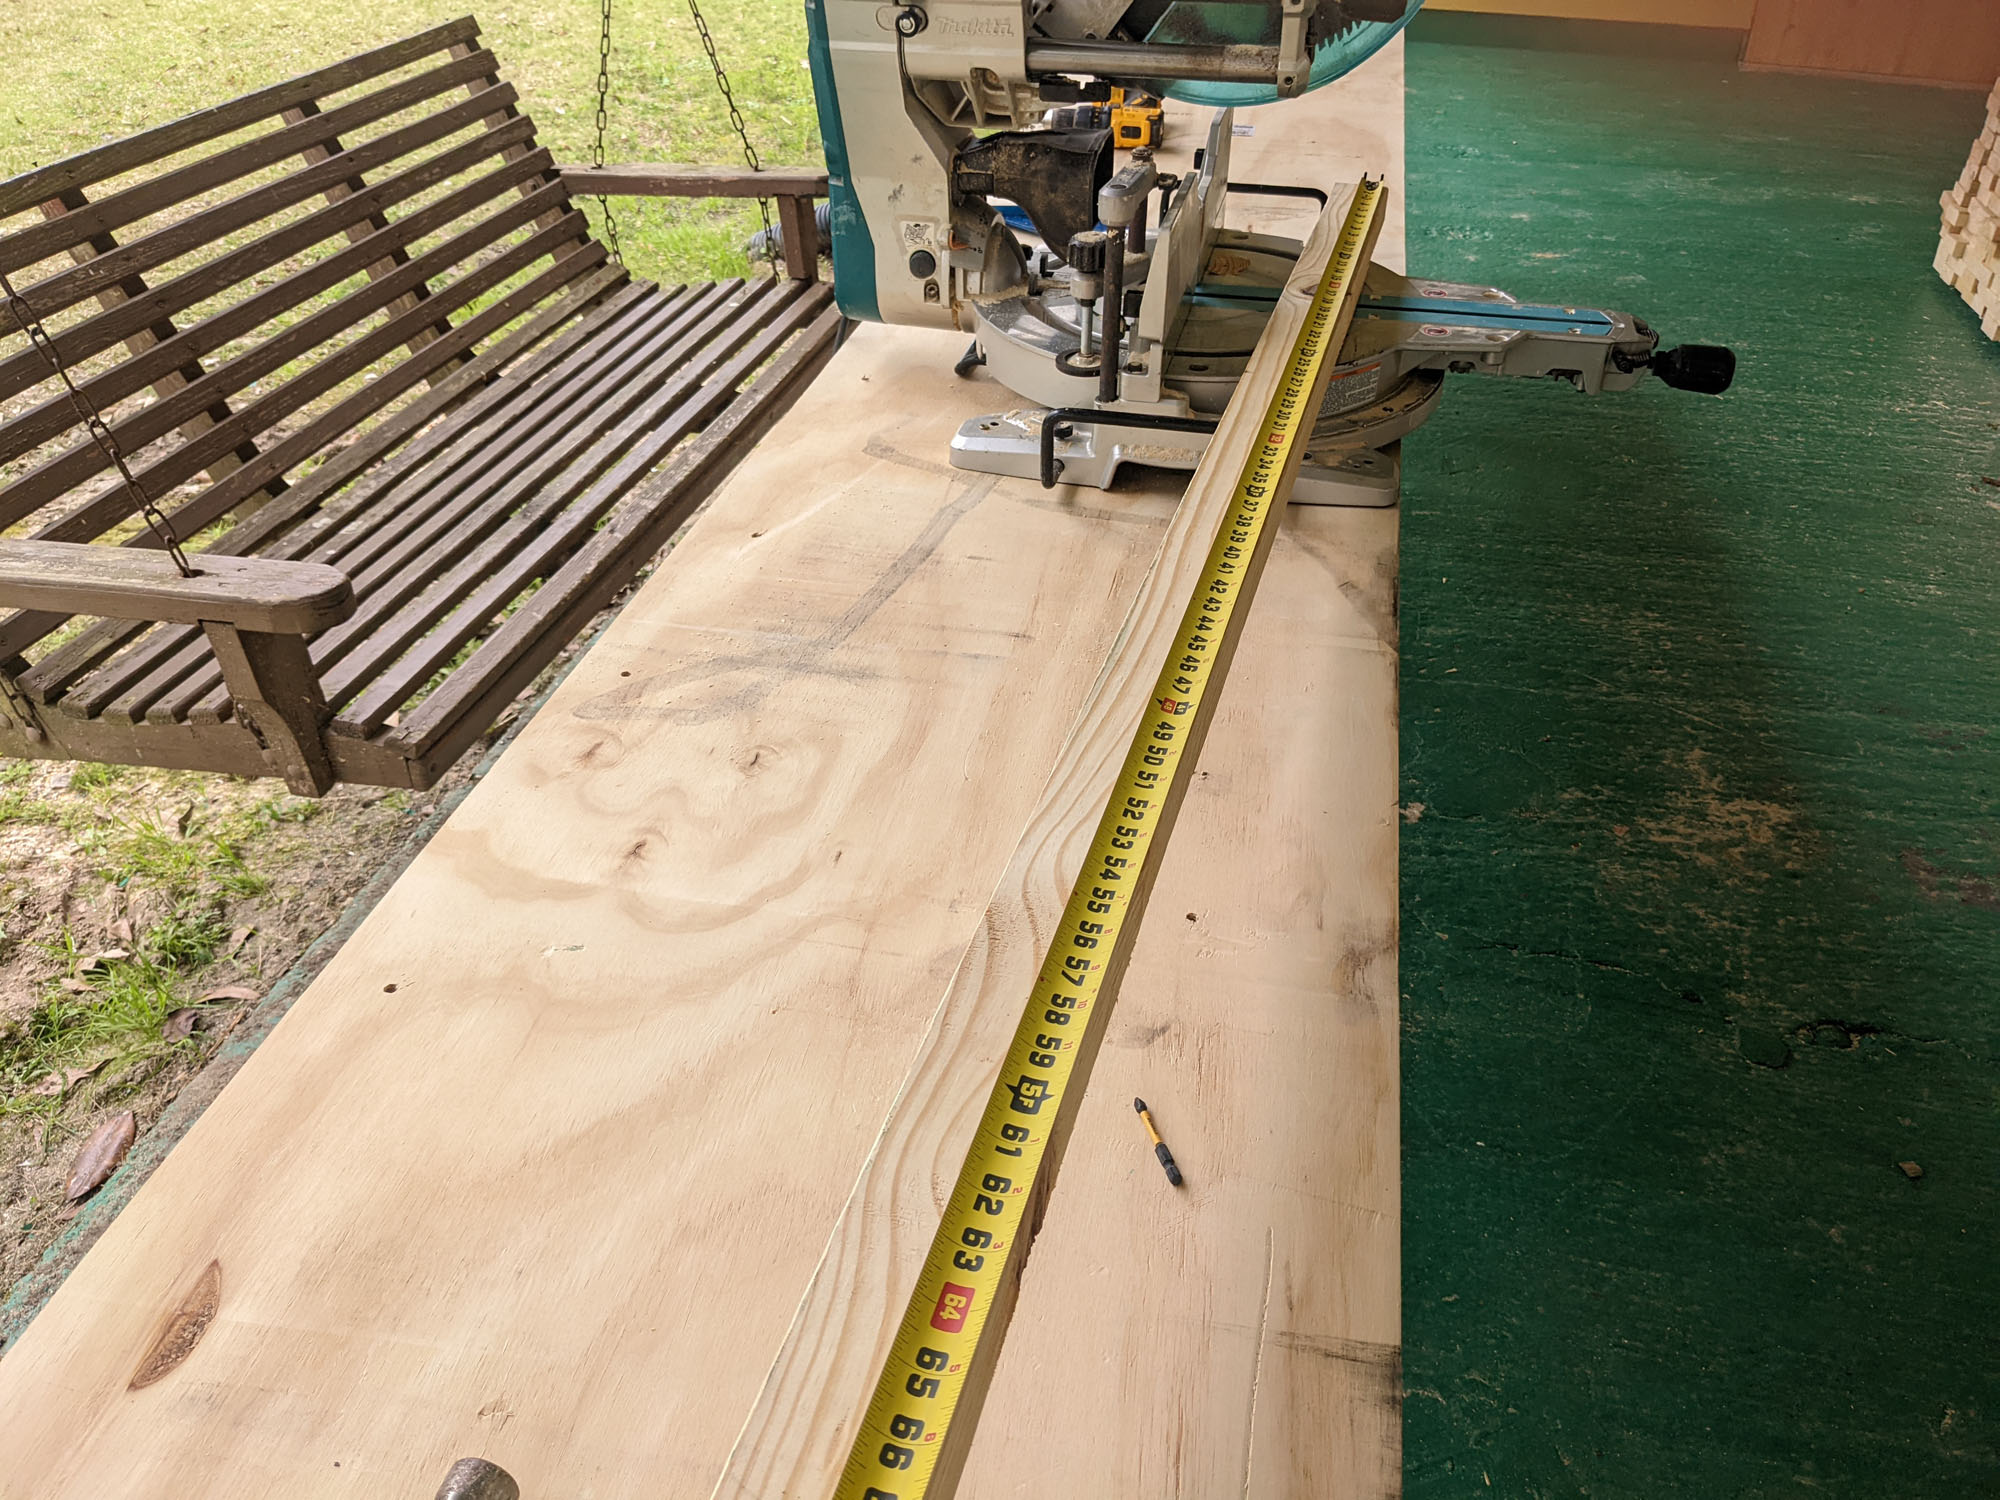
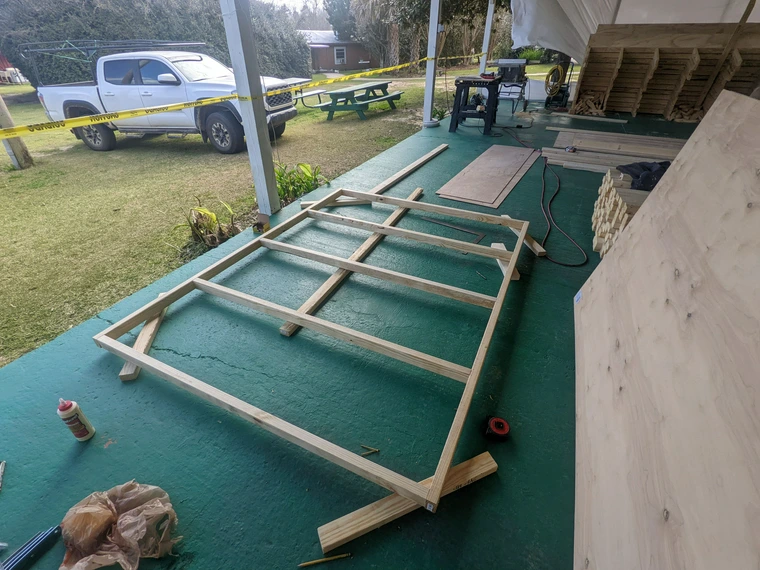
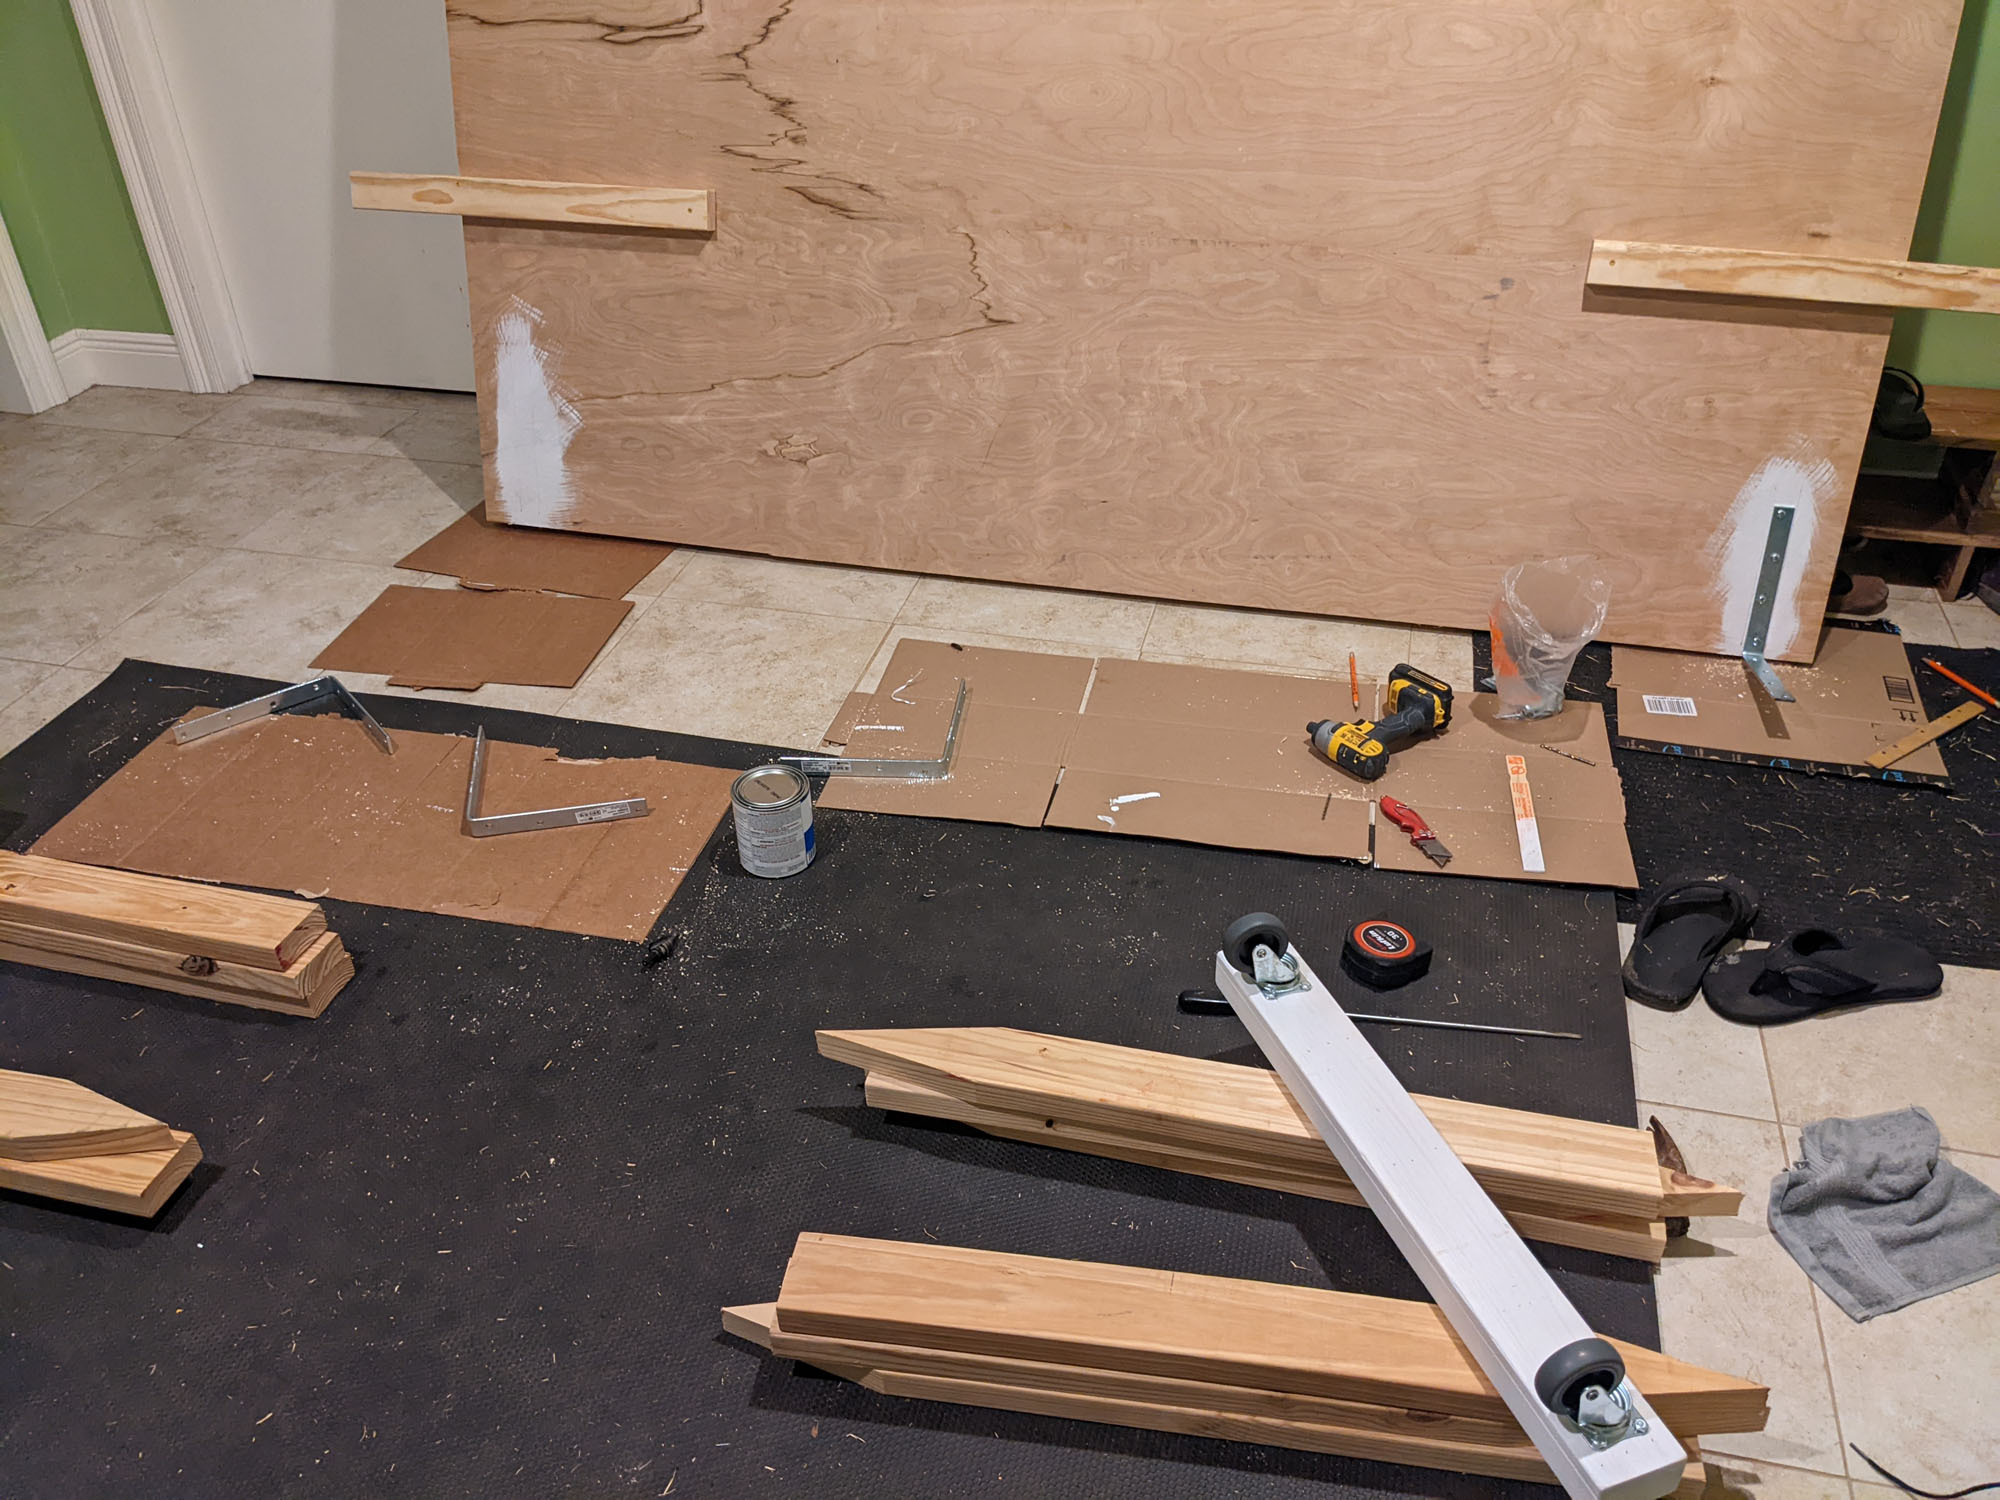
I don't have any power-tools of my own, but my dad was busy with a project not too far away. Free workshop and tools!
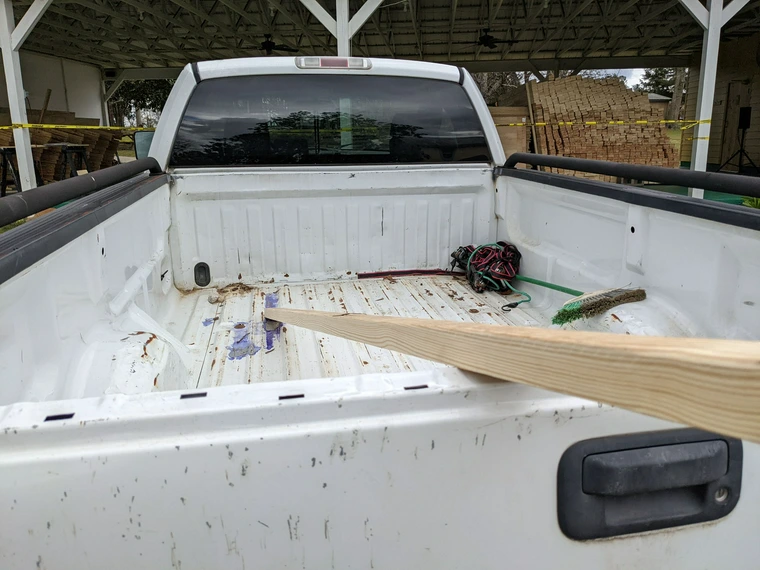
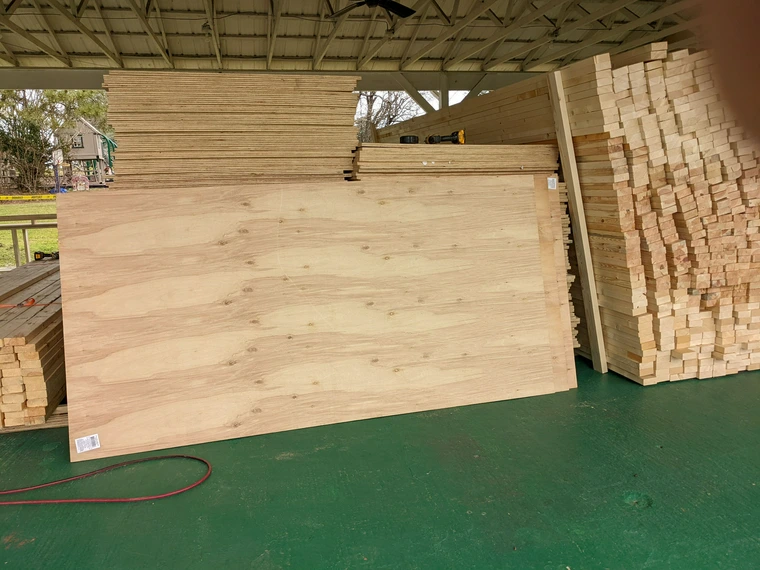
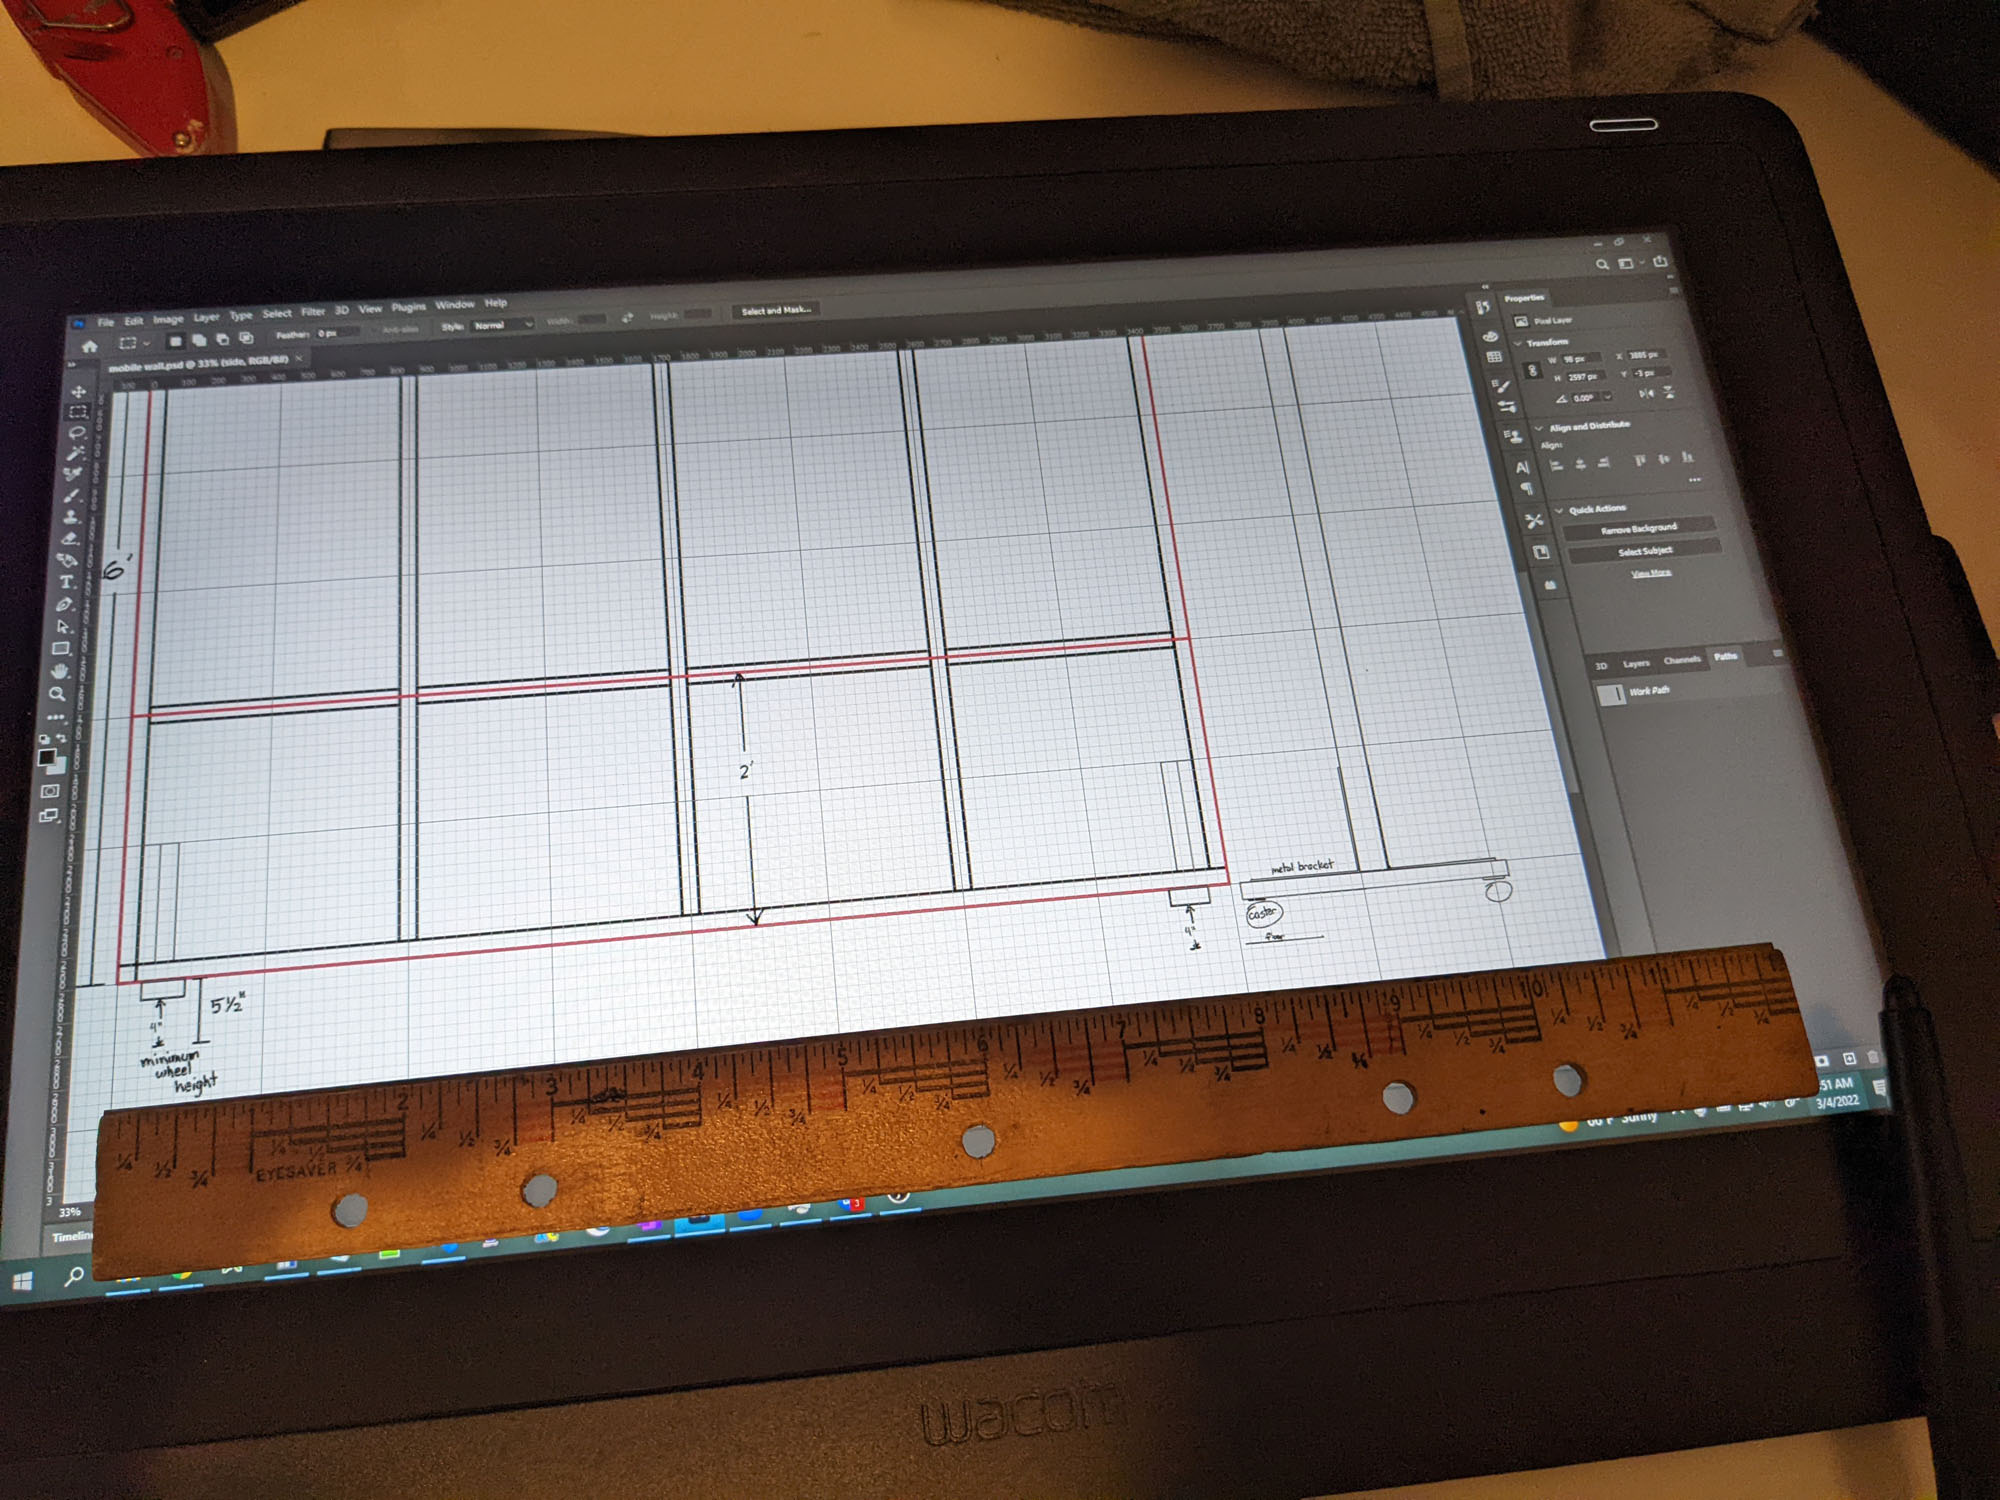
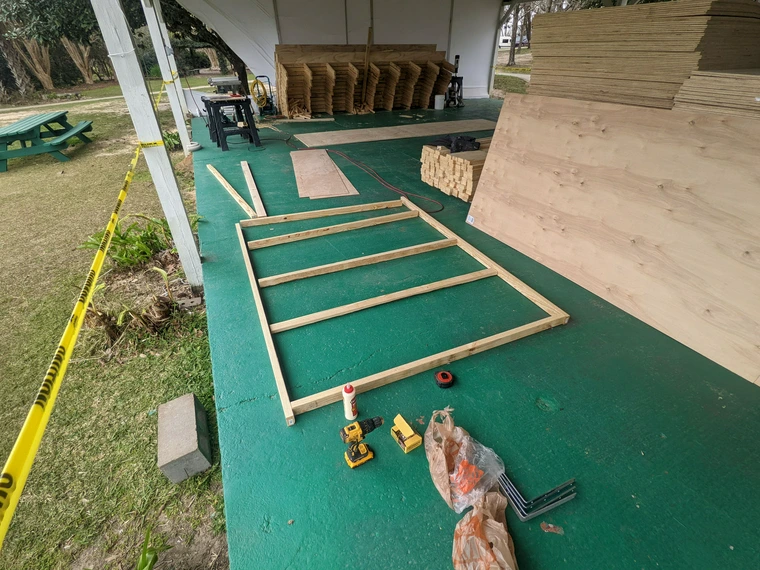
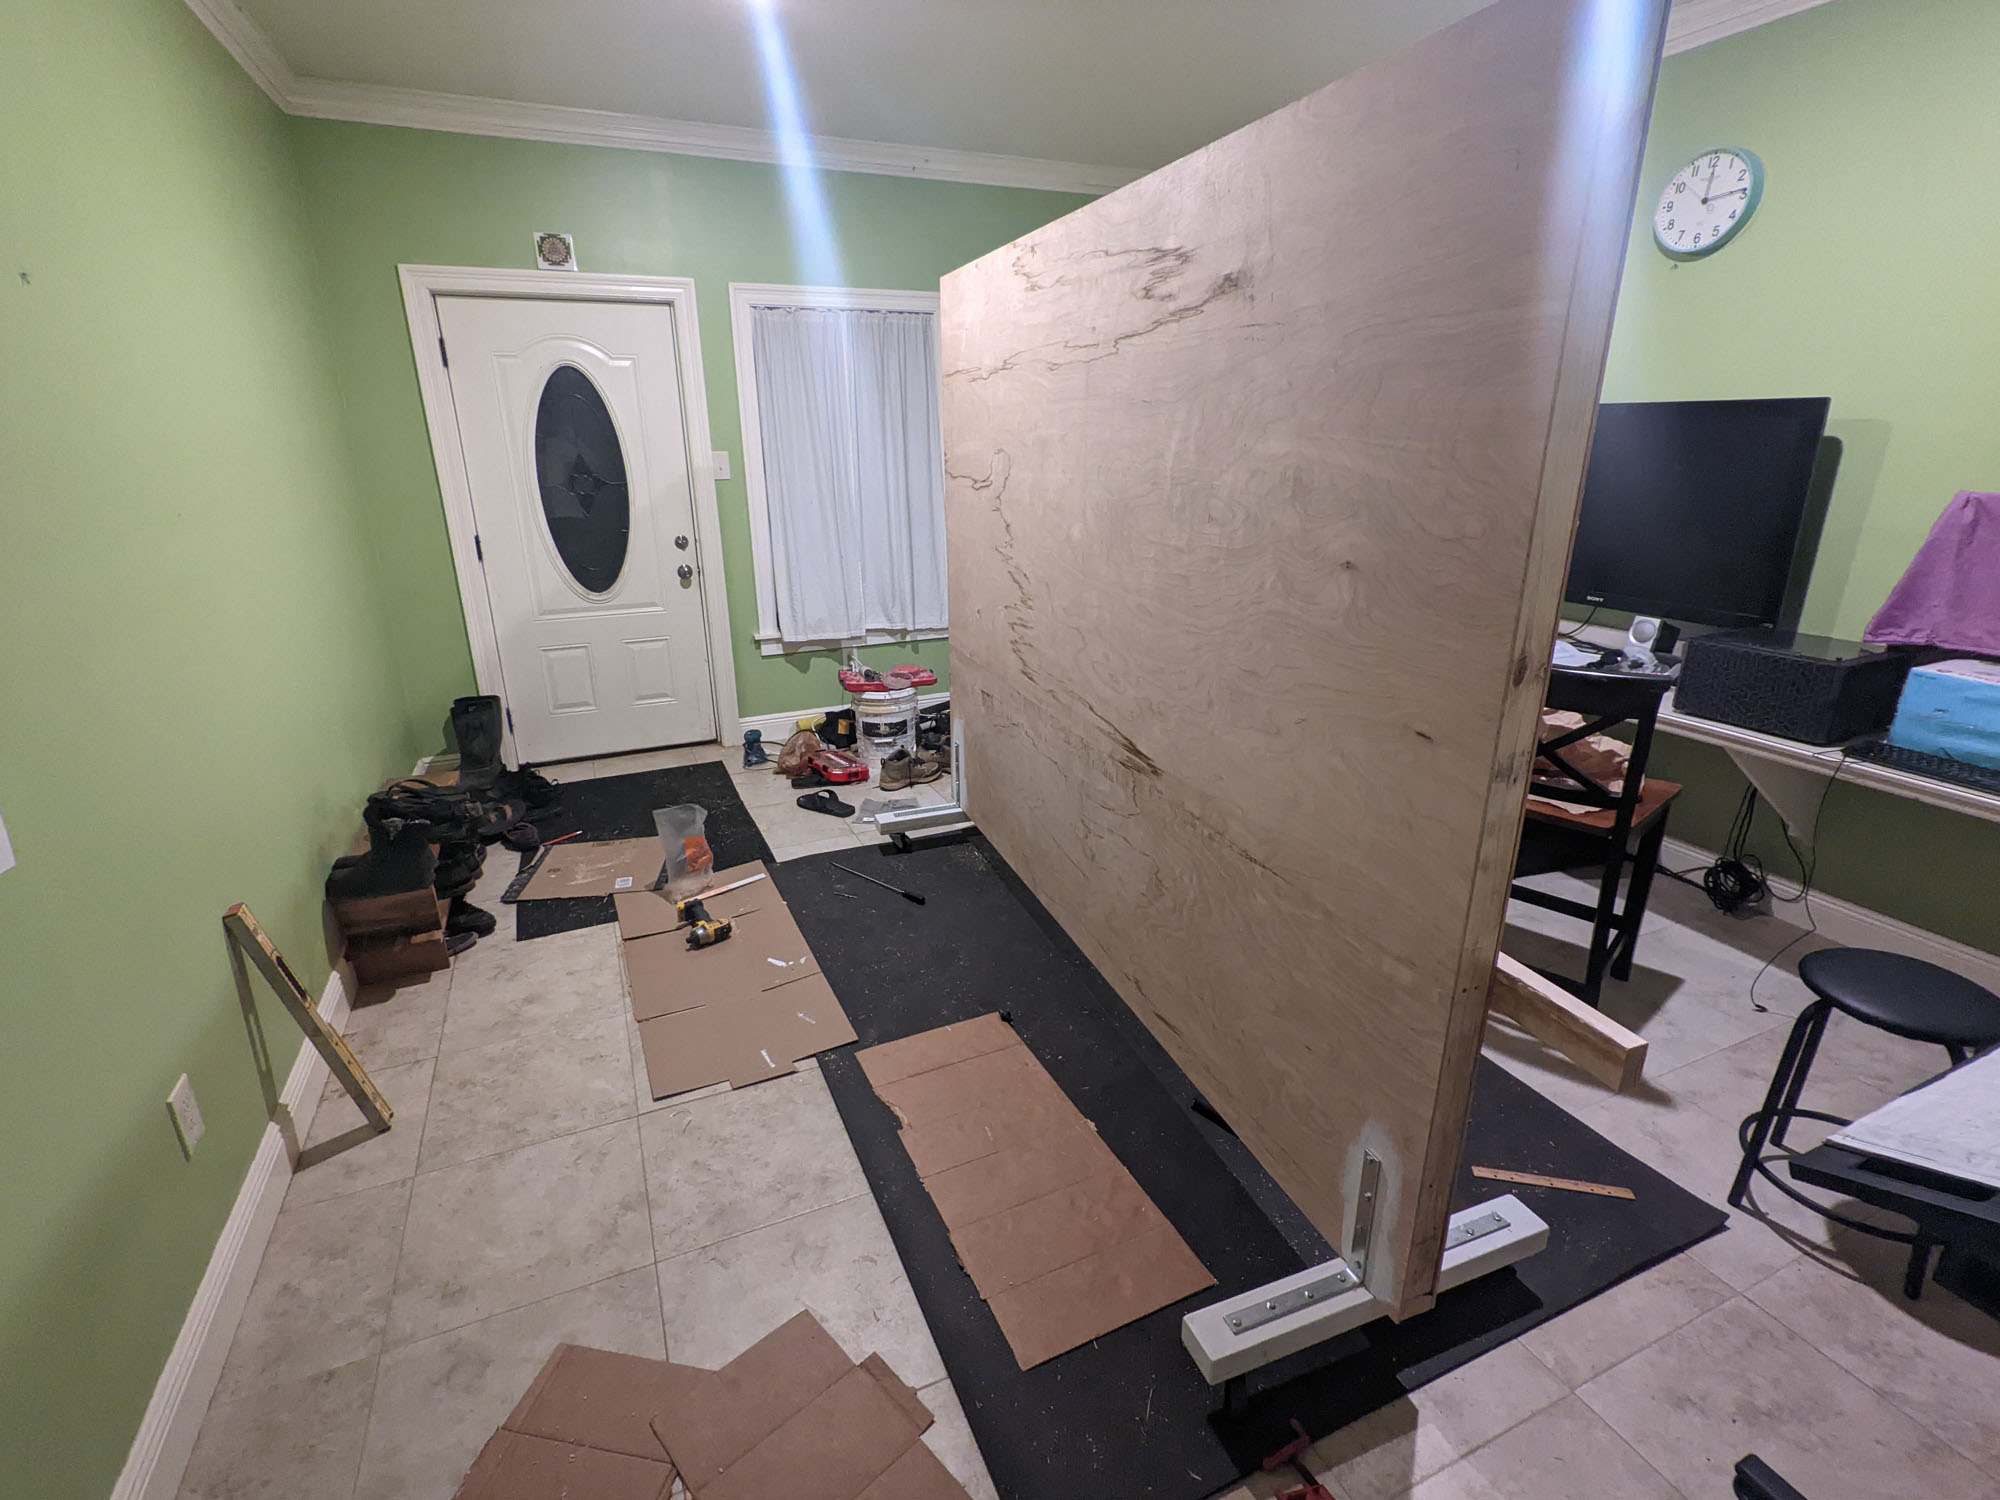
No, all that lumber wasn't needed. That was already there when I arrived. I just had a simple frame to make out of 2x3's and a few sheets of 1/4" plywood. Doesn't take much time at all if you're used to framing. A curious guy at Home Depot asked what I was building. A few sheets of plywood and wood? Should be obvious. It's a wall!

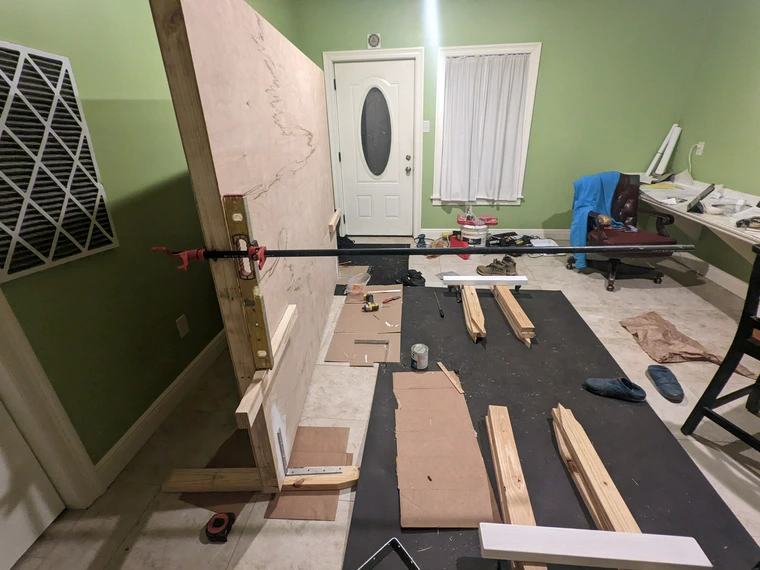
Hefting it home was a bit of an ordeal – a couple of spare boards make for good handles. Then I had to attach the wheels. Not so easy without any extra hands, using counterweights to keep it from falling over. That pipe clamp isn't just holding the level – it's keeping it leaning on the wheel bracket. 😃
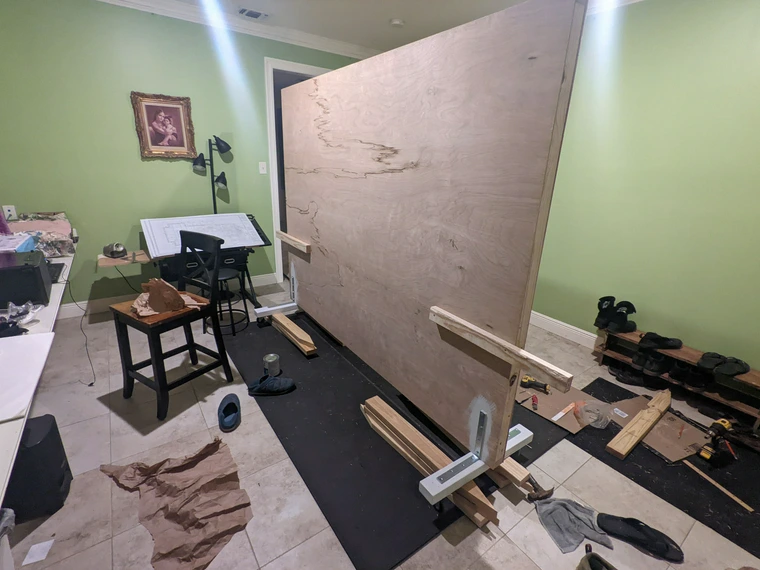
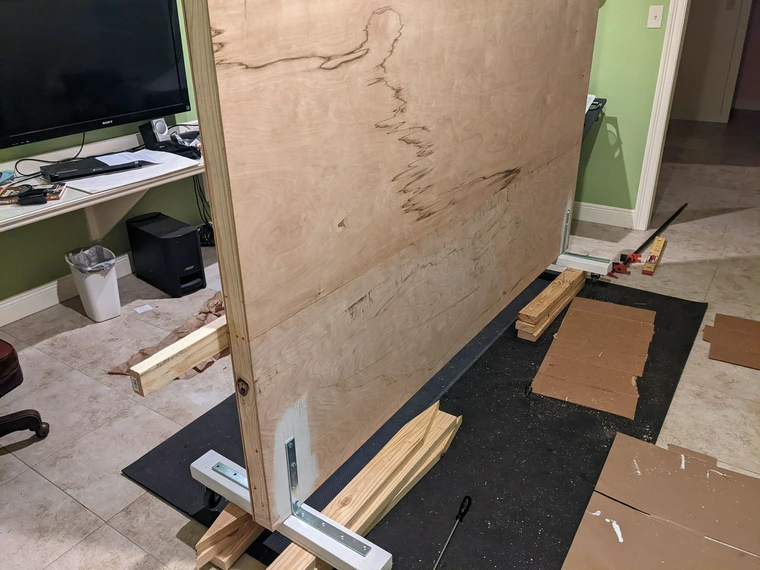
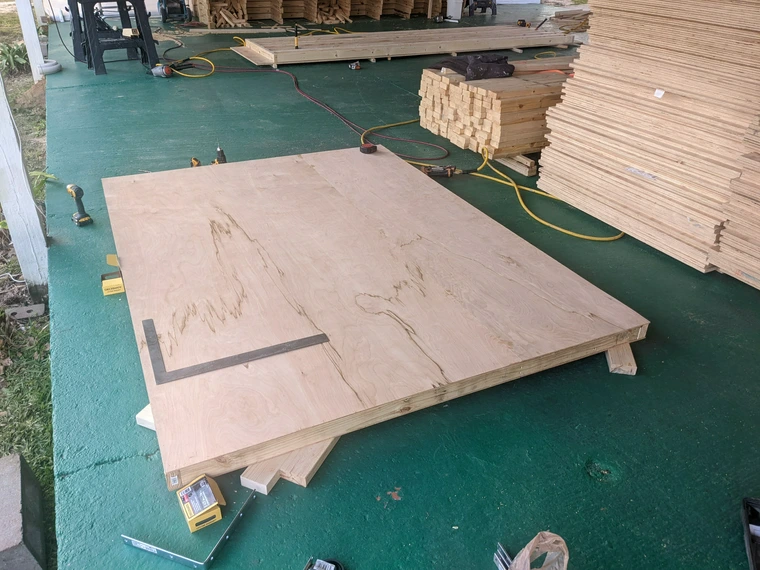
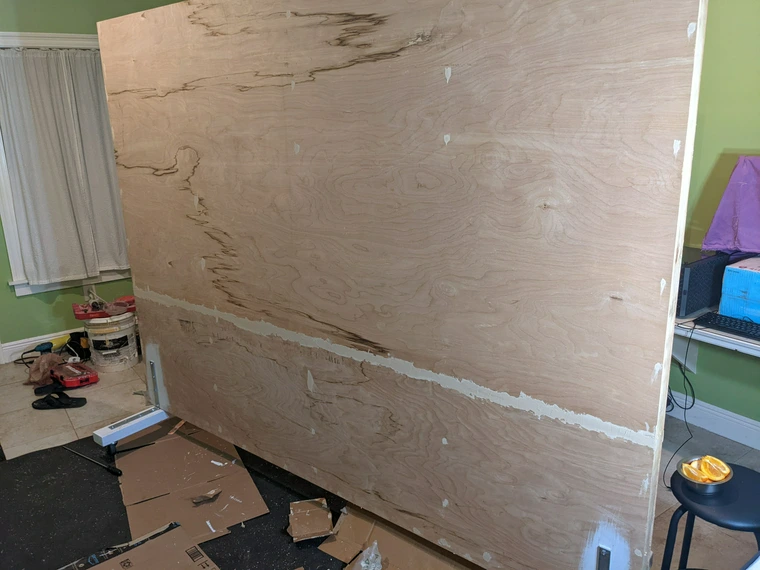
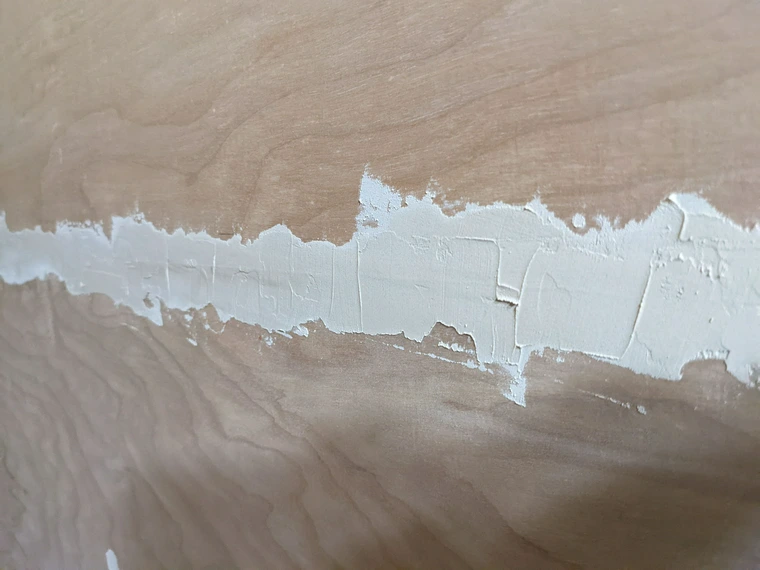
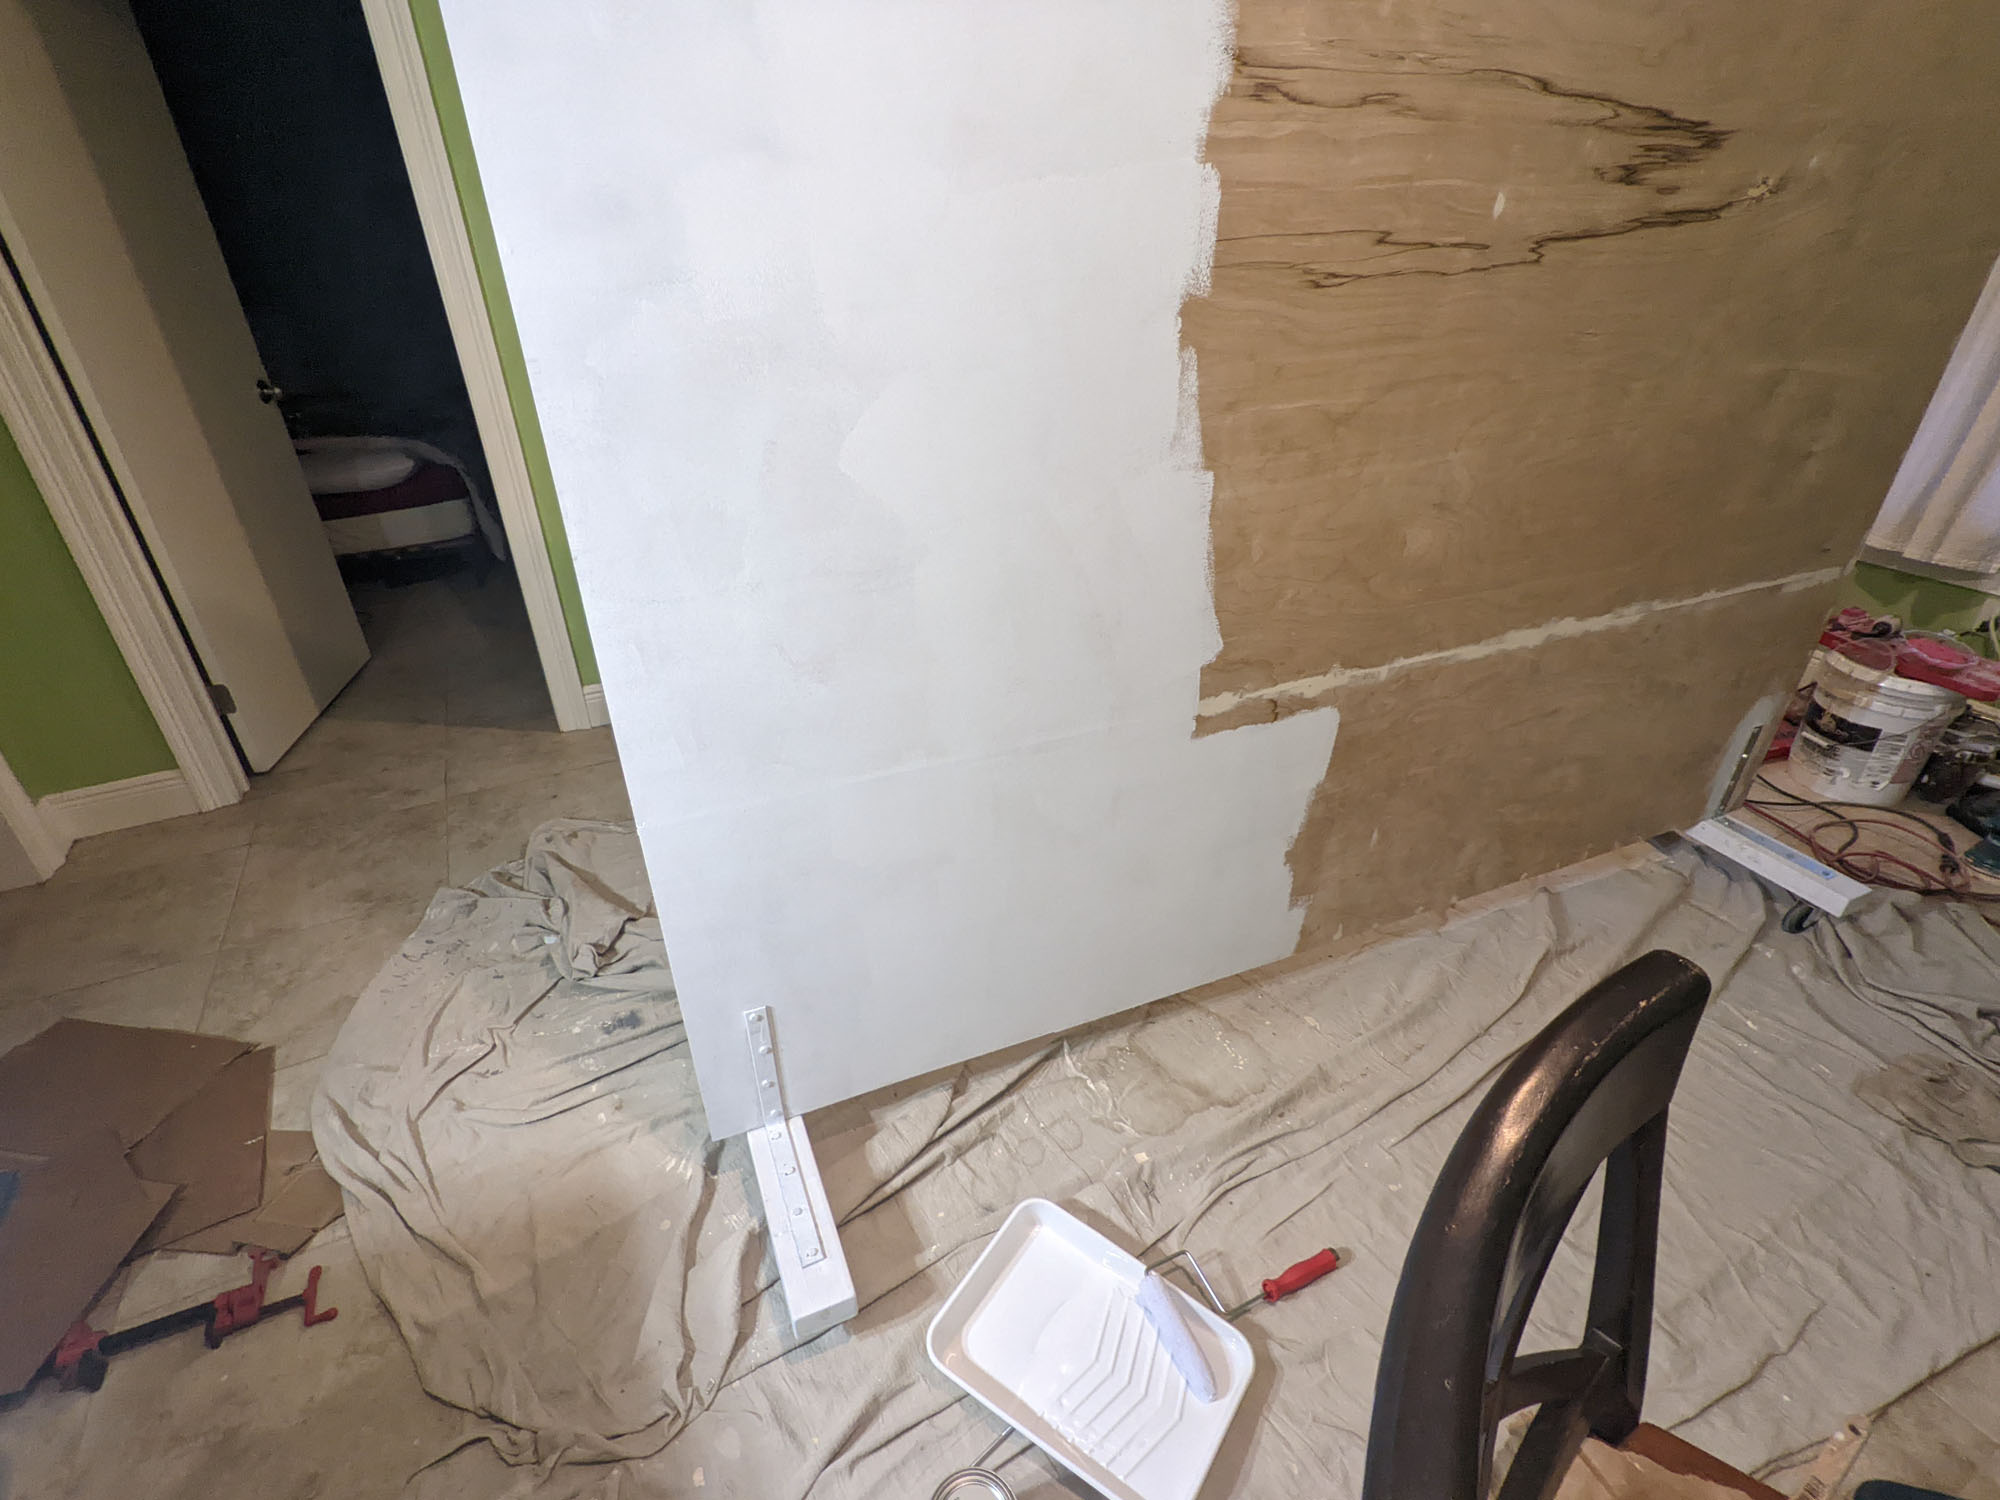
Now we're ready to paint – or prep for painting. It's not a typical wall with sheetrock. It's just a thin cover of 1/4" plywood. First I needed to apply some wood filler to cover any dents, nail holes, and the long plywood seam.
I made sure to keep the seam near the bottom of the surface, figuring that would inevitably add some unwanted texture.
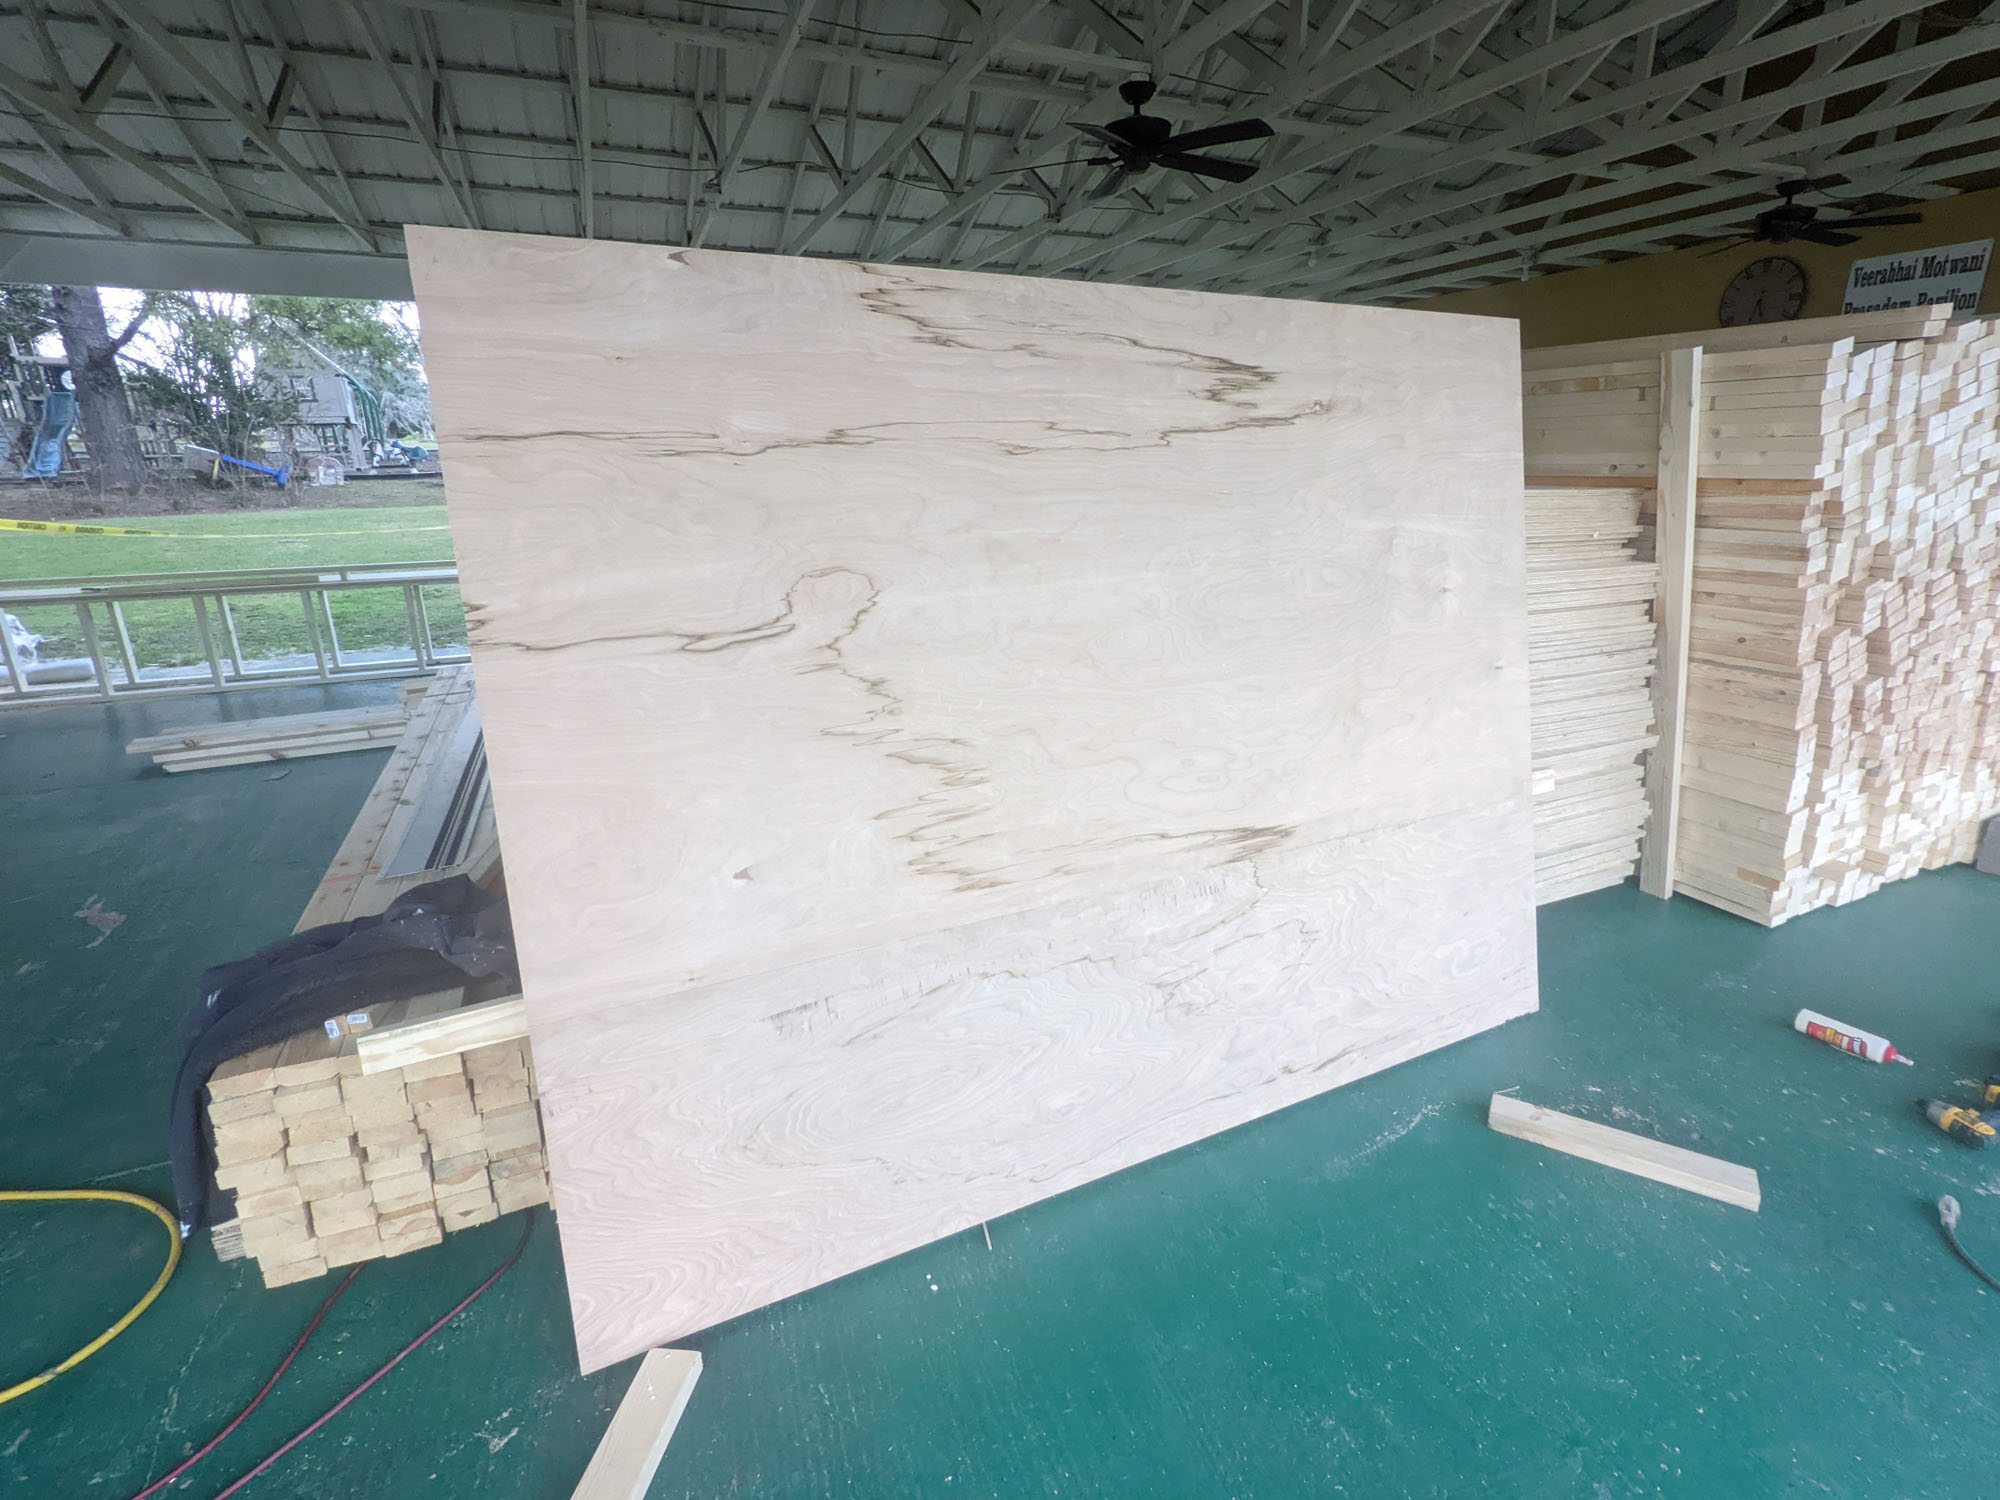
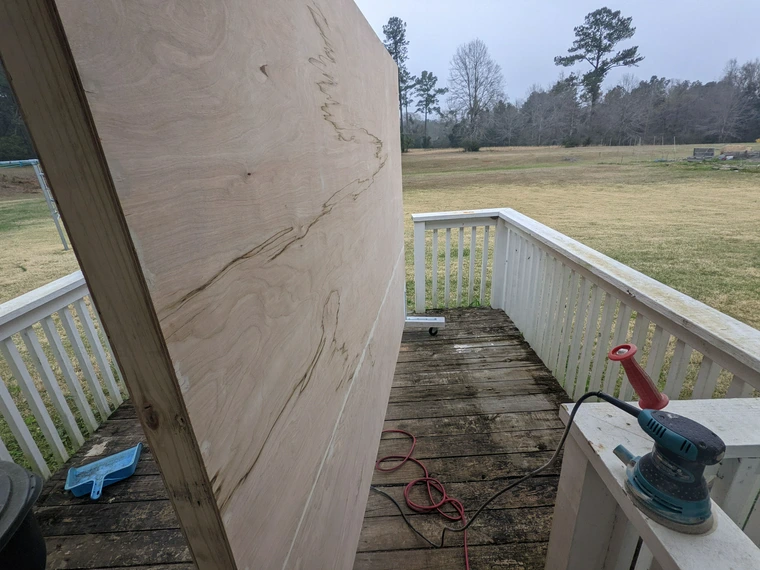
It was easy enough to wheel outside for sanding. Surprisingly light and mobile for how unwieldy it was to carry home.
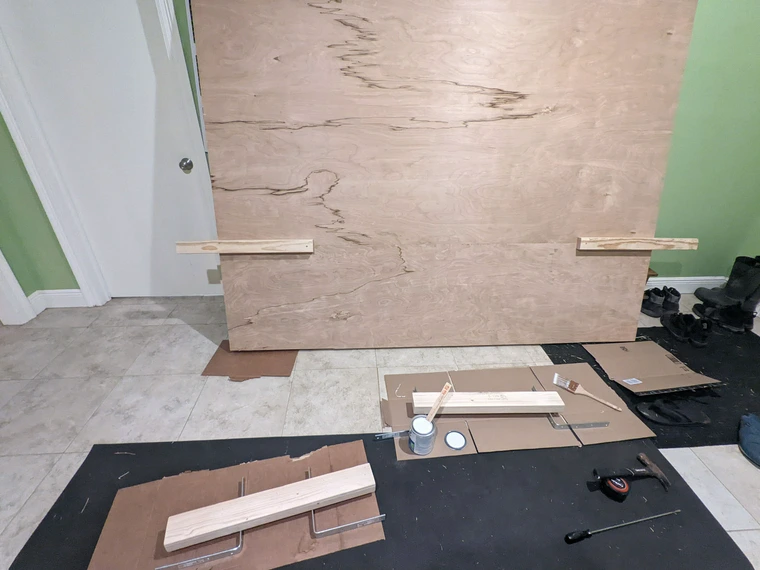
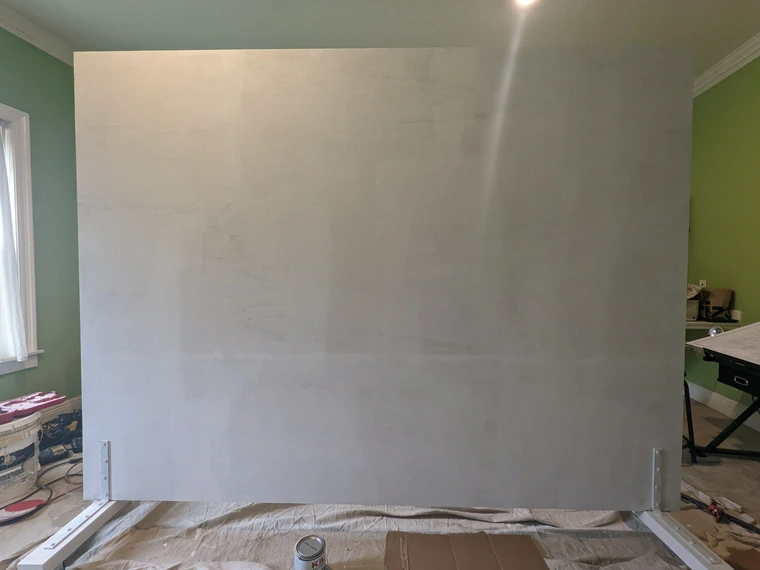
Then it was ready for some priming – at midnight. The project was completed over one weekend, with day one building it, night one priming, and then it'd be dry and ready for paint the next day. Priming and painting inside wasn't the most delightful experience with the fumes and all, but I didn't want to risk the weather getting to it while it's vulnerable.
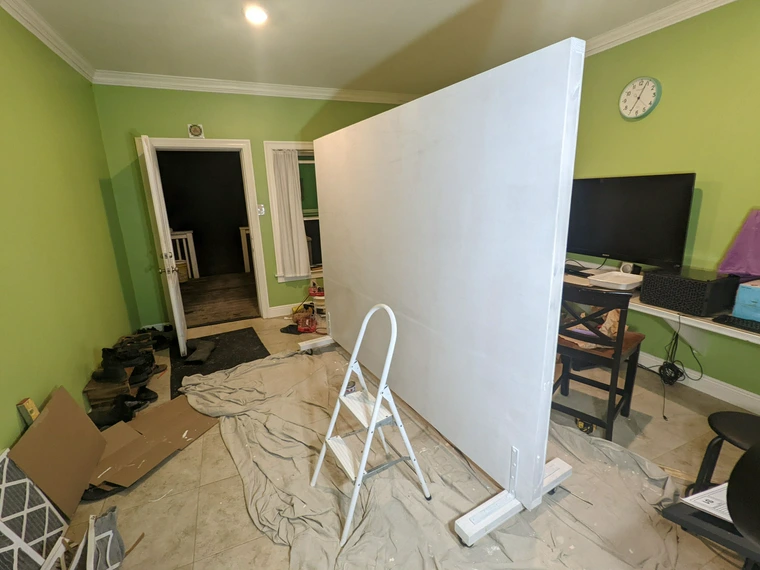
Now it's ready for paint the next morning. It's got two sides, too, so if I ever want another design or color, I can do the other side, and then reverse the wall on a whim.
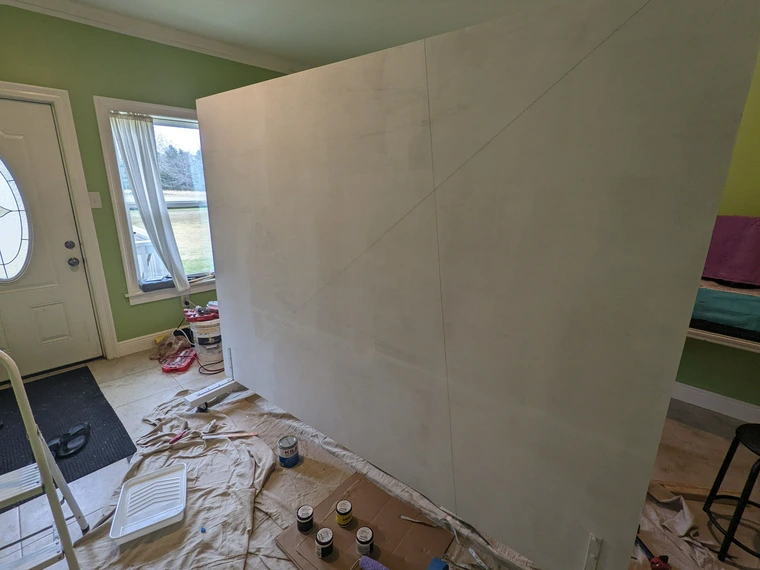
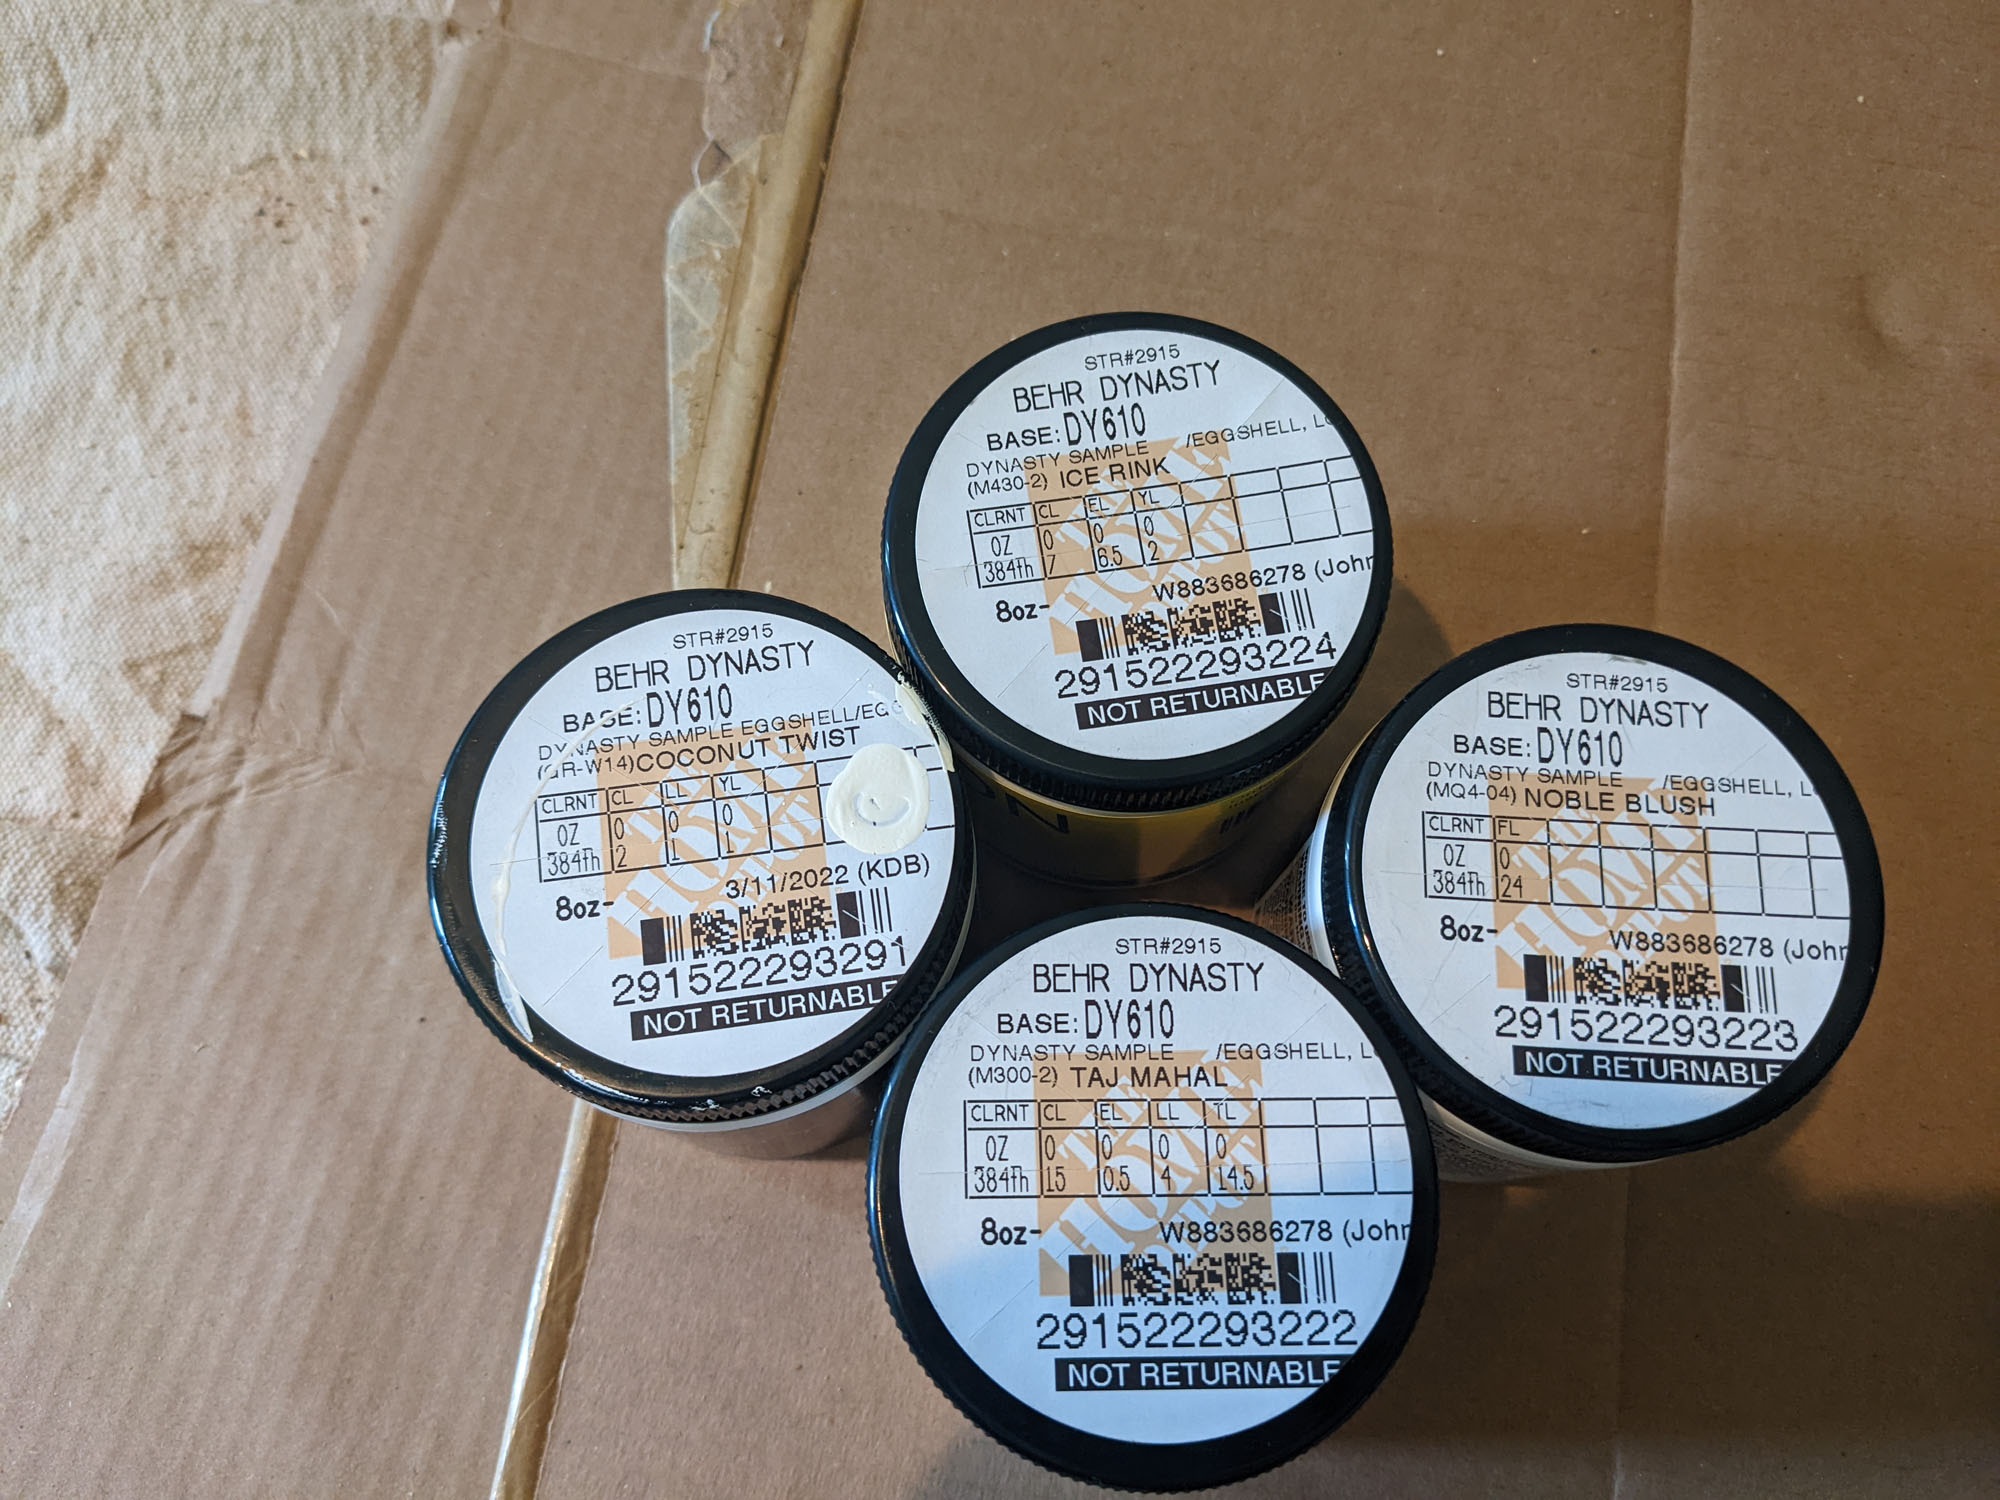
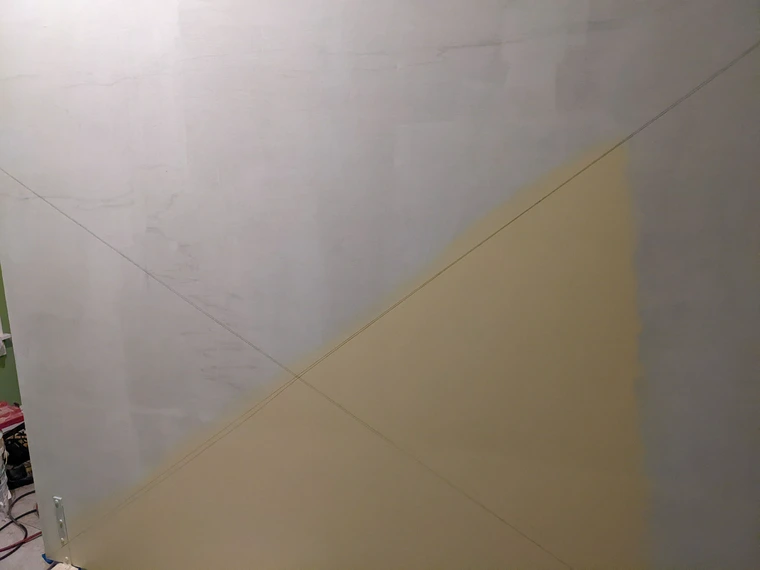
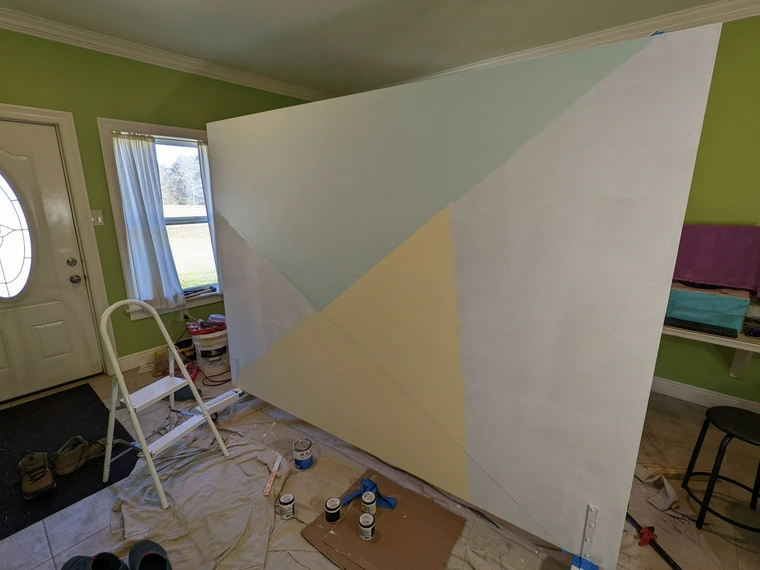
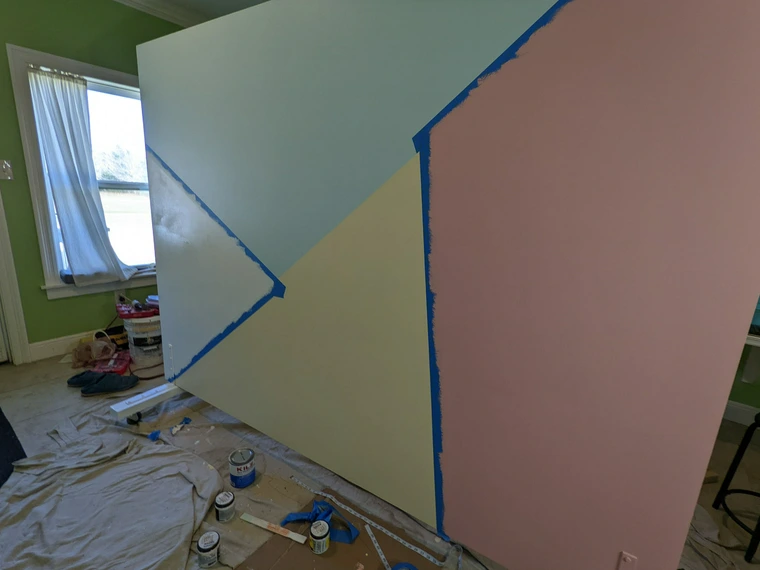
I pulled some strings to lay out a design. My sister has an eye for designing neat and modern things and helped me come up with it. She also helped pick the colors. If I did this again, I'd use two coats of paint. Home Depot lets you order cheap, small 8oz samplers that were perfect for one coat.
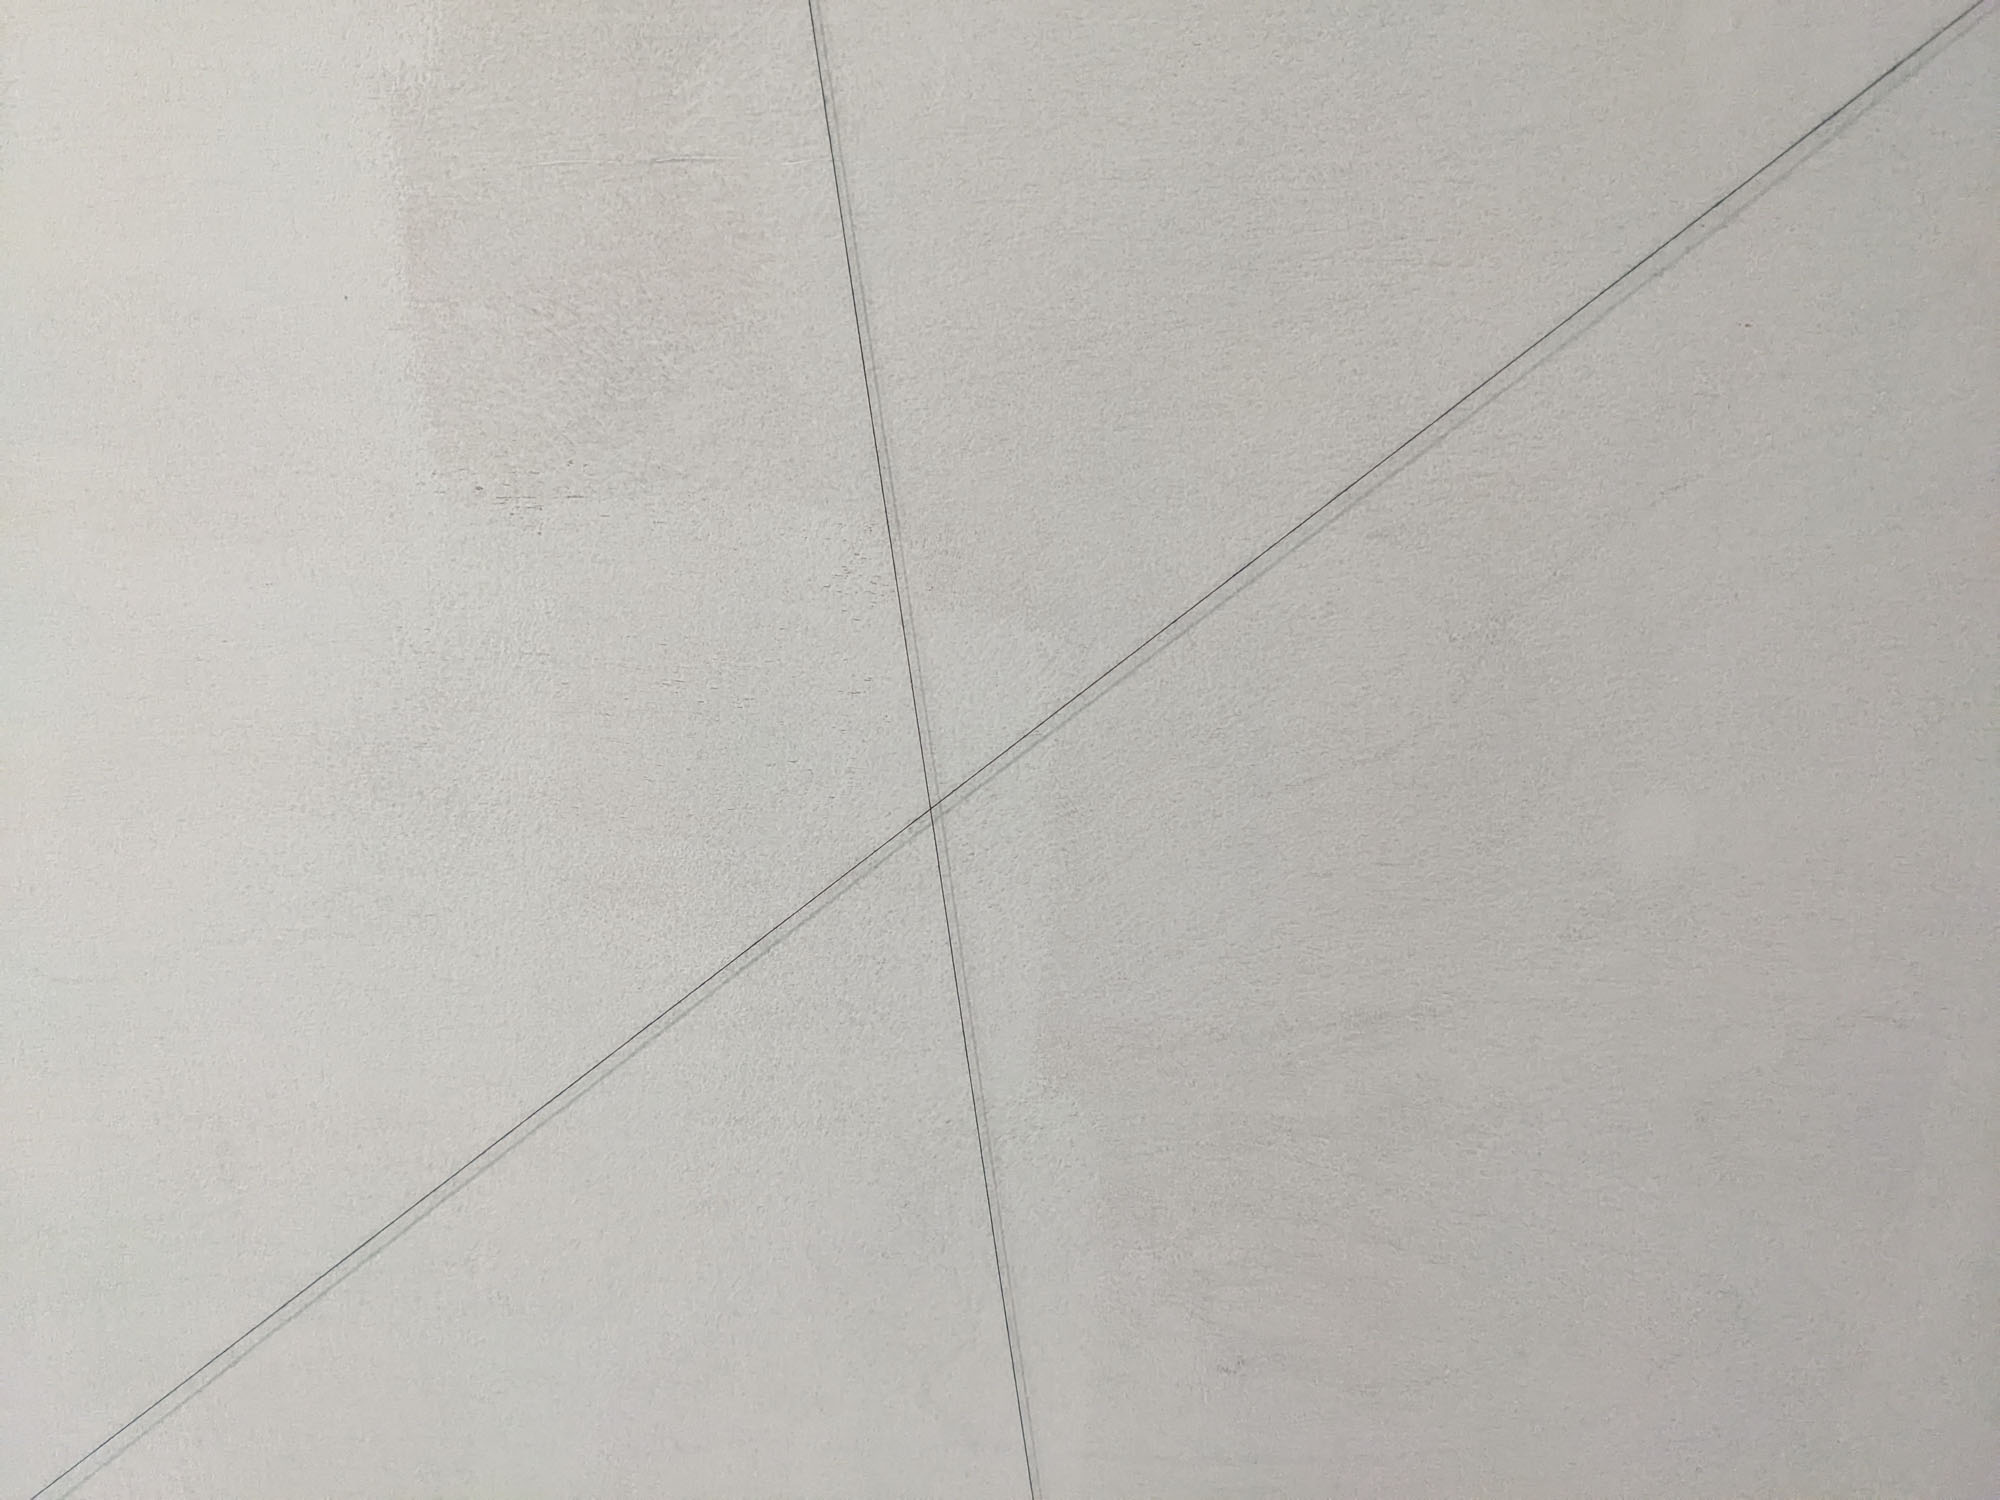
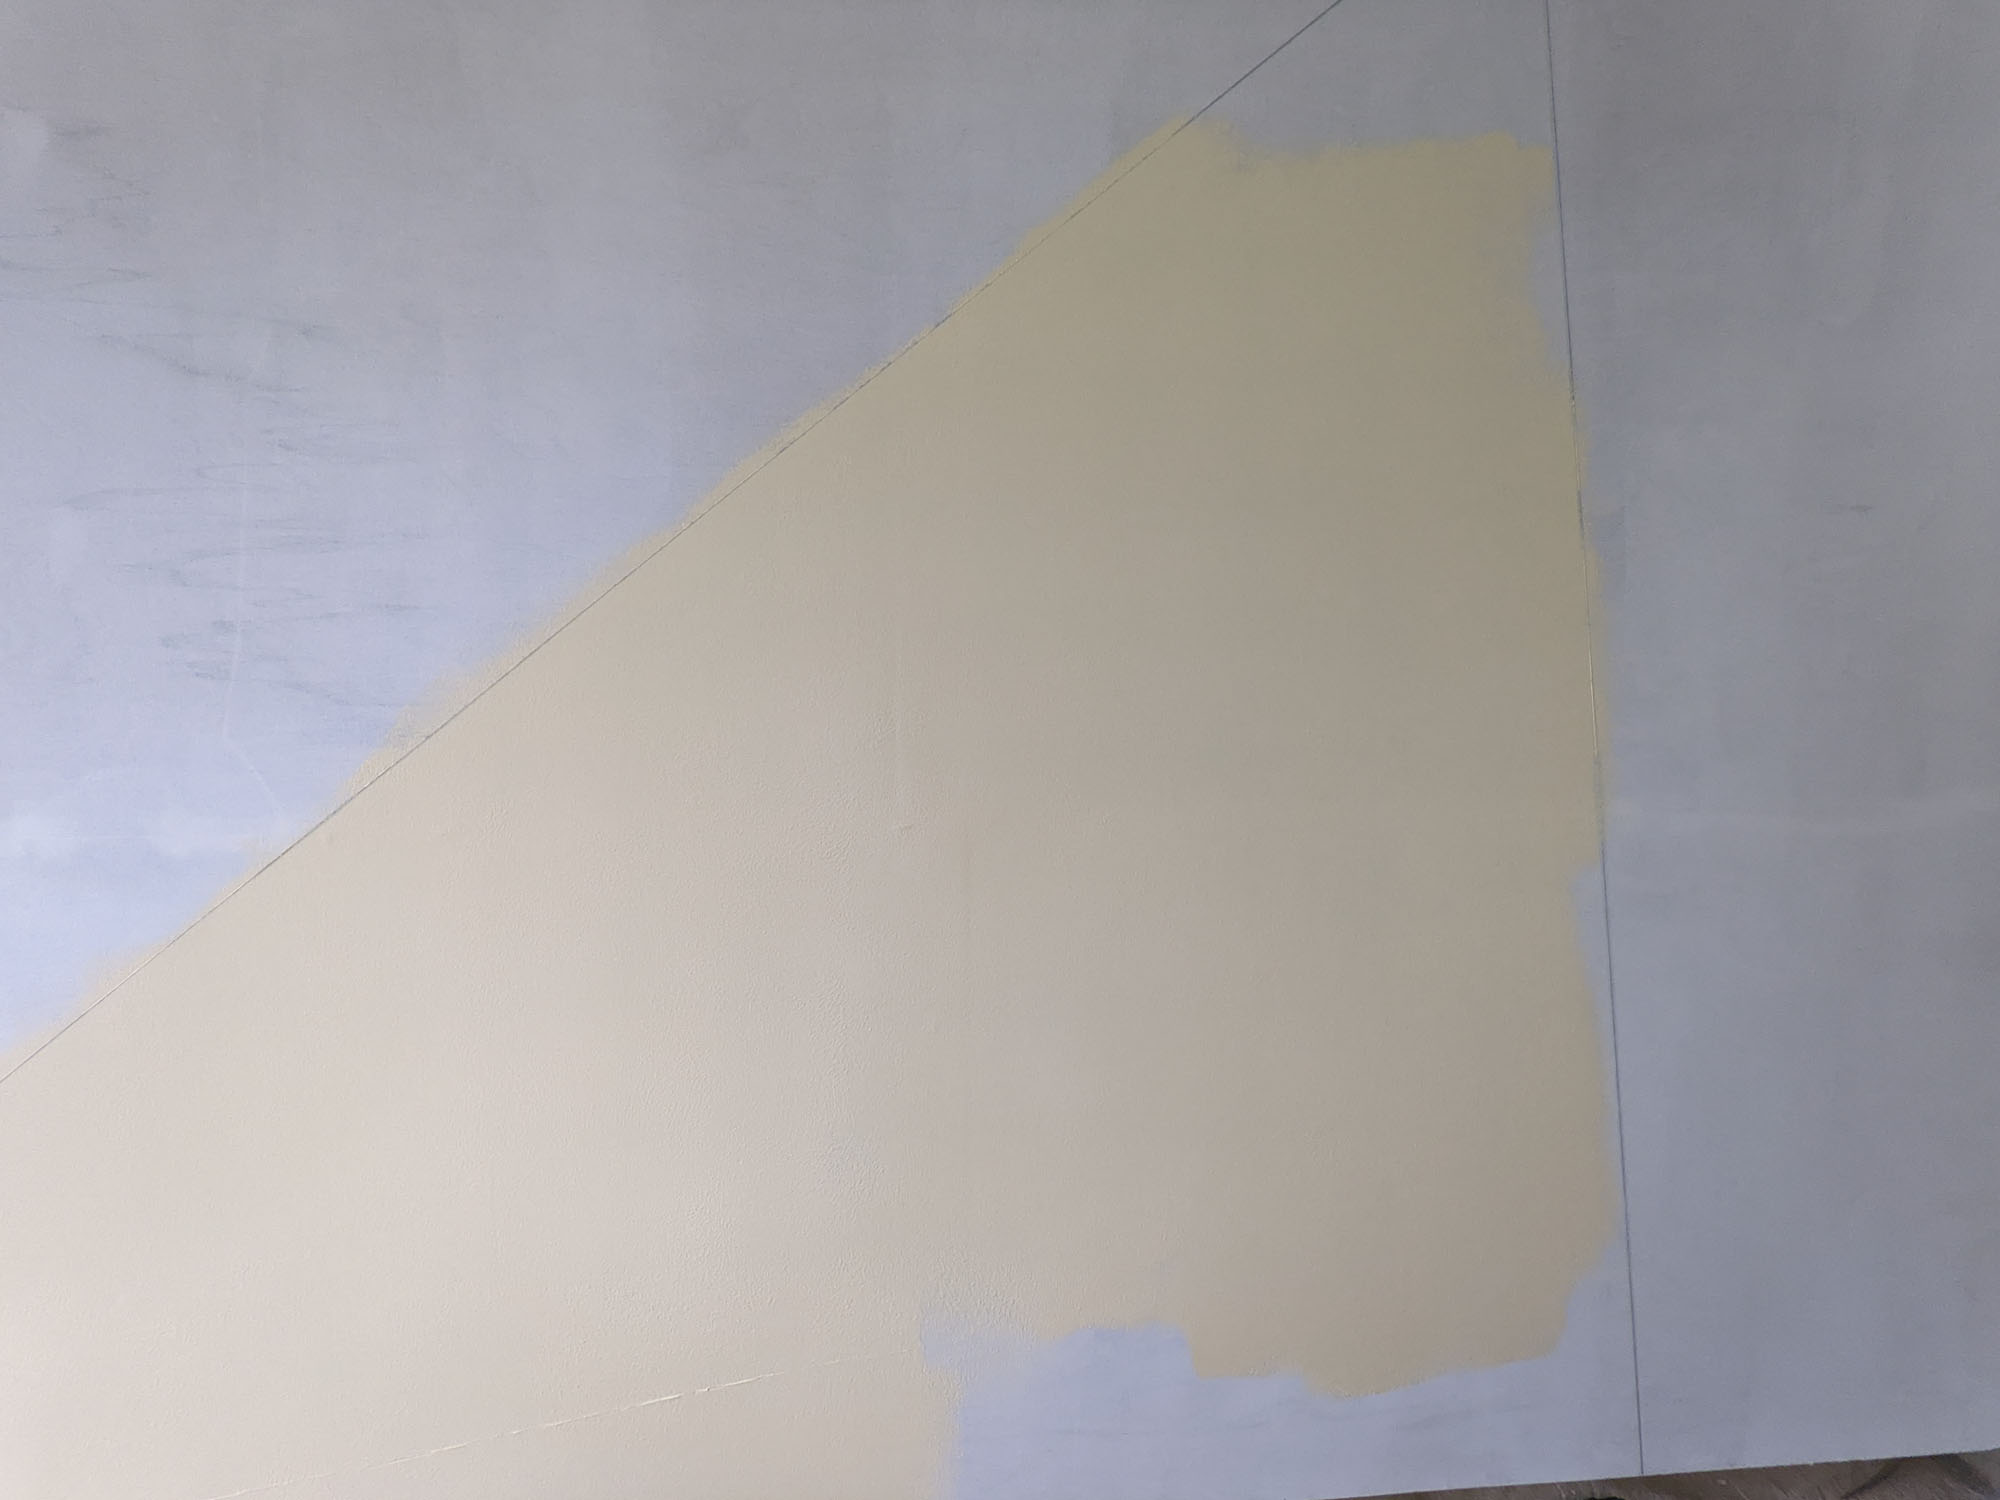
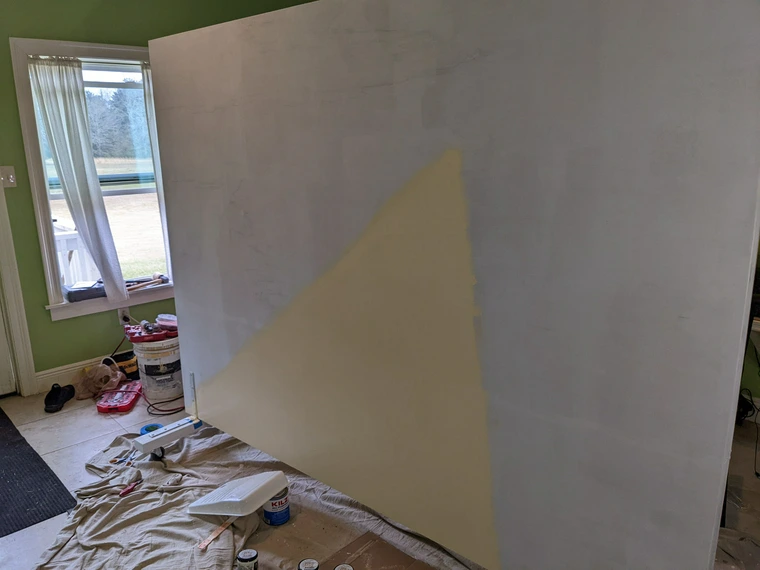
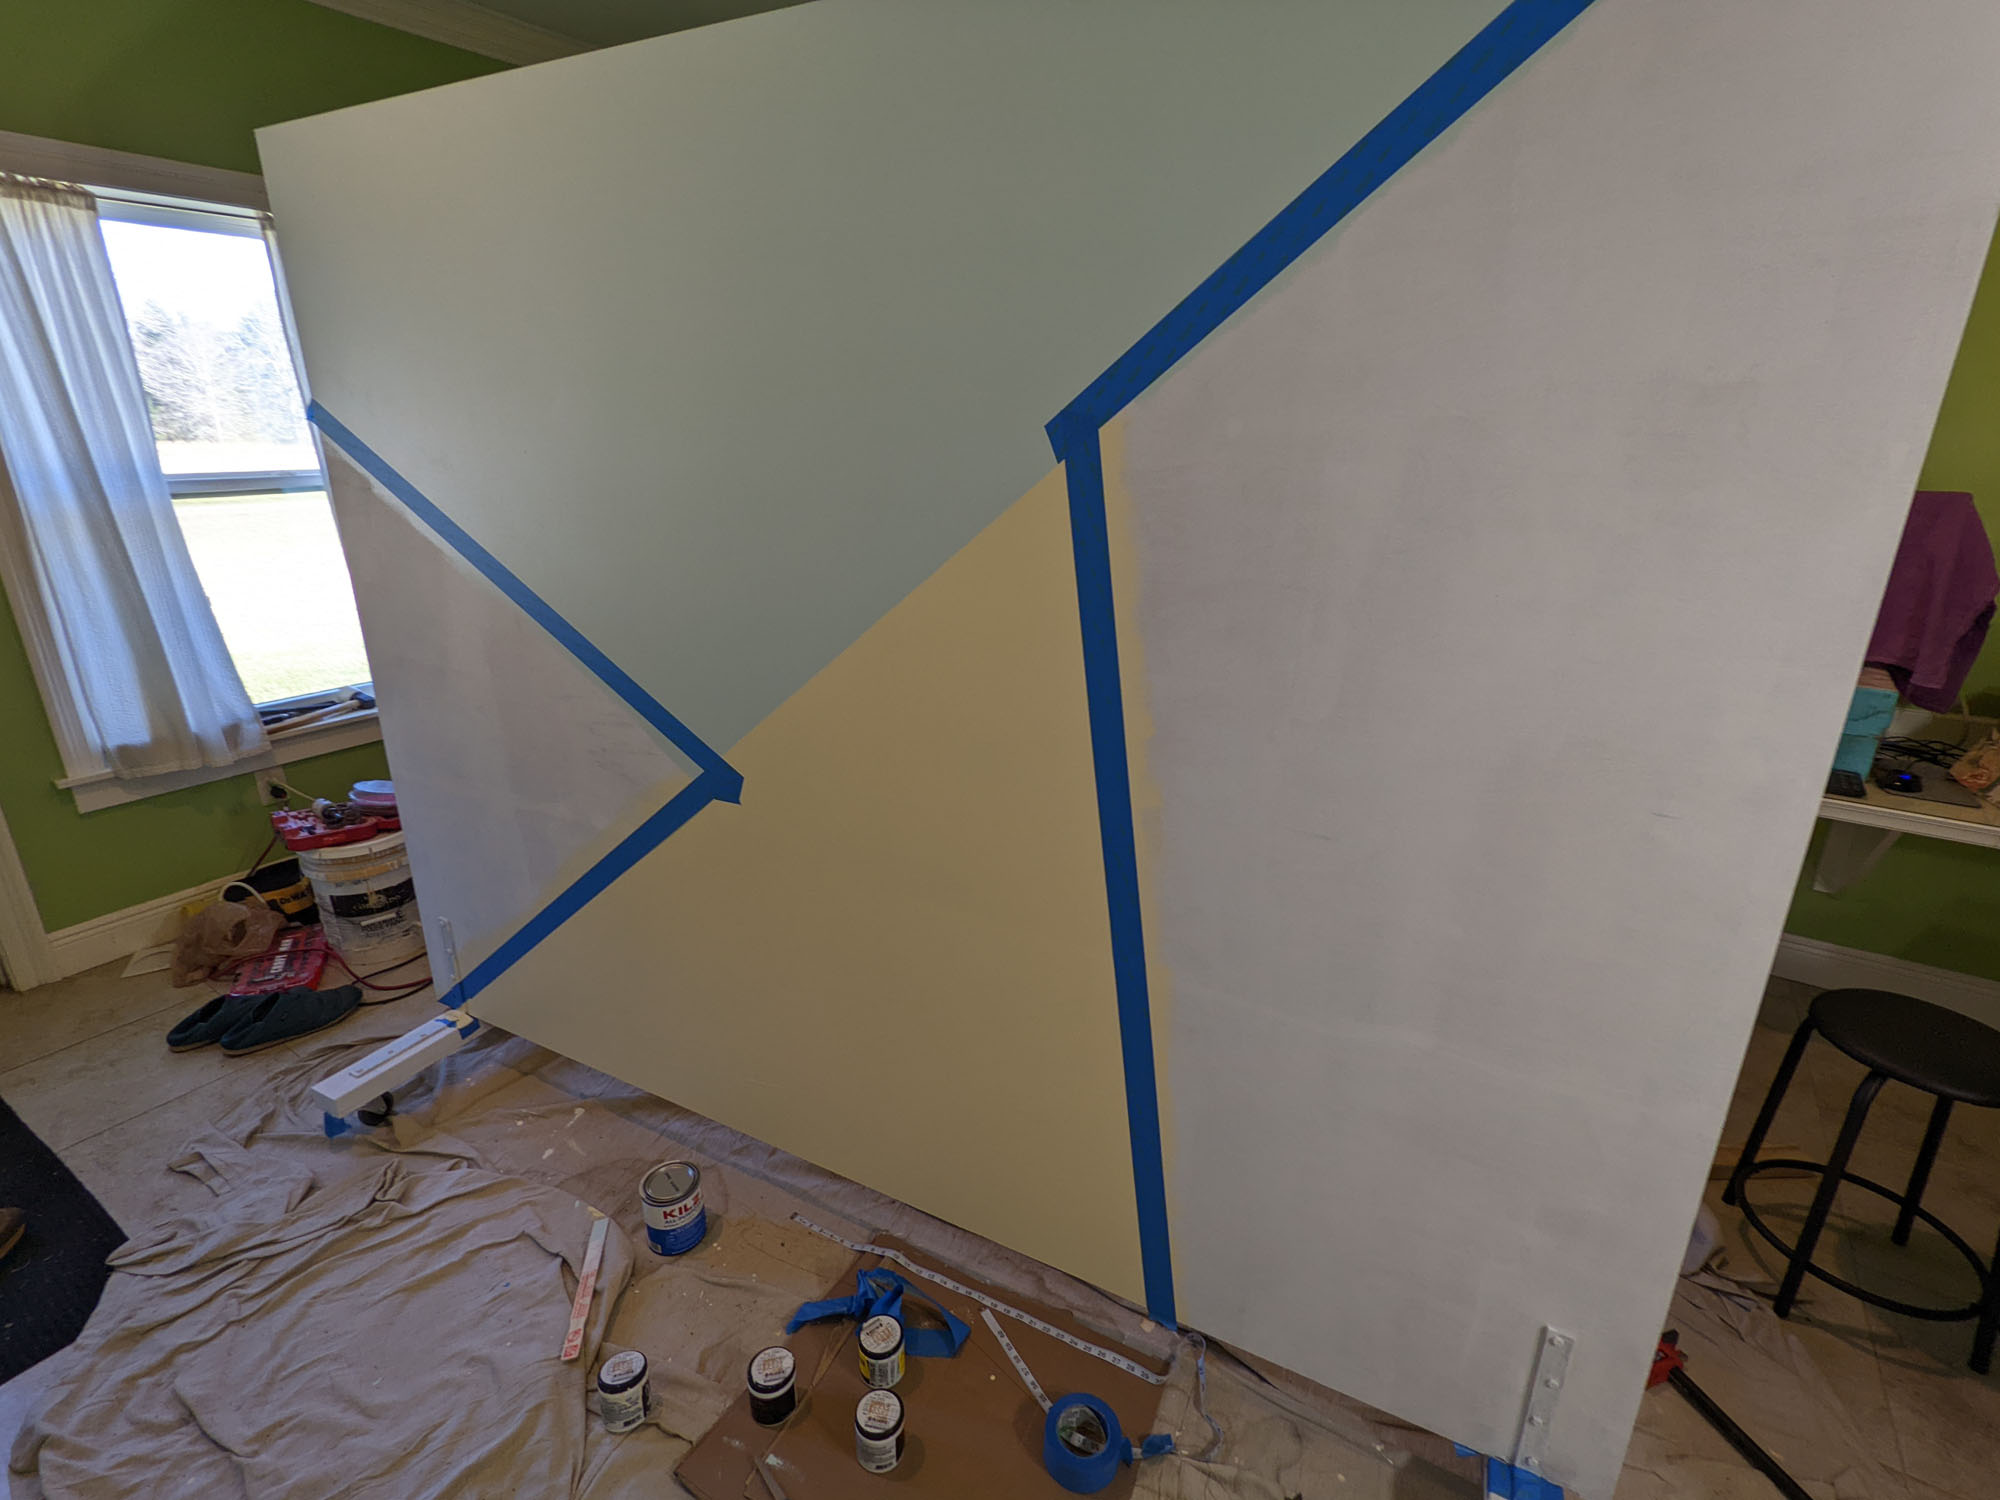
After the first color, I let it dry to touch, and then tape could mark the next section with clean lines. It was a little worrying working with tape under such a short timeframe, but it turned out great. I could paint all of the colors in a single day with time for each to dry.
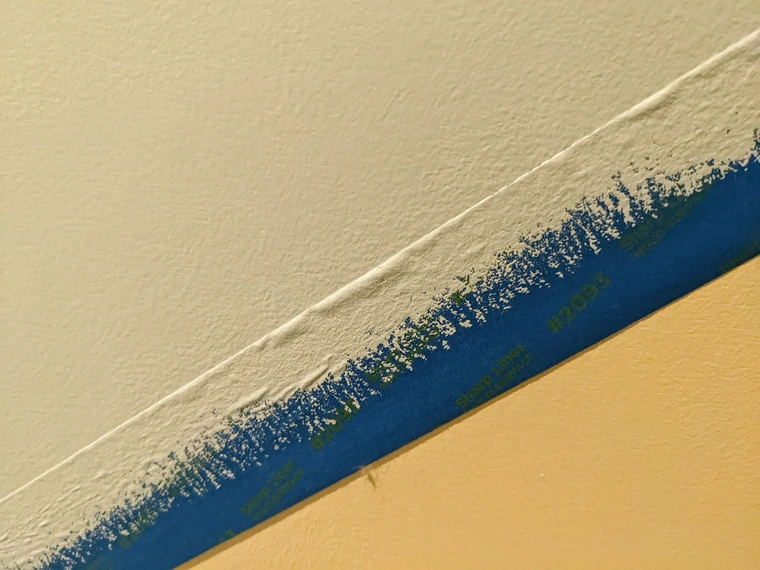

Ready for the final sections on the left and right. If you look very closely you can see a little color bleed on the edge between sections, but it's not very visible, especially not from a webcam.
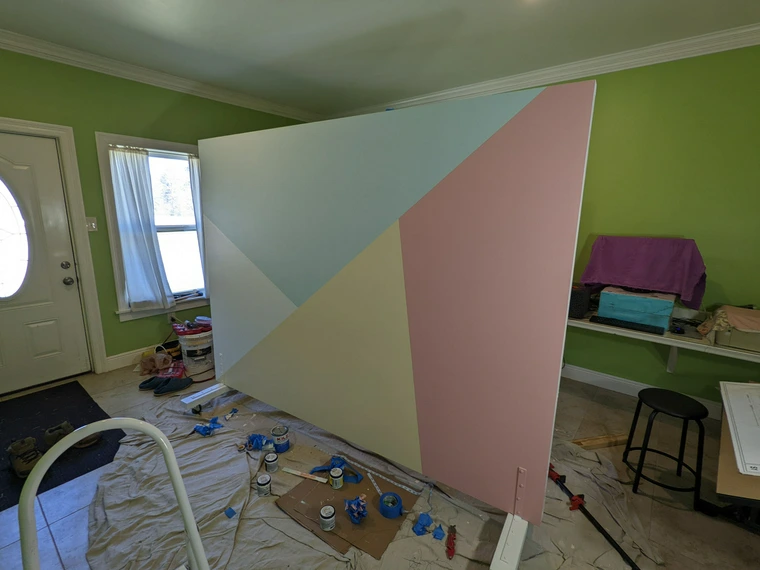
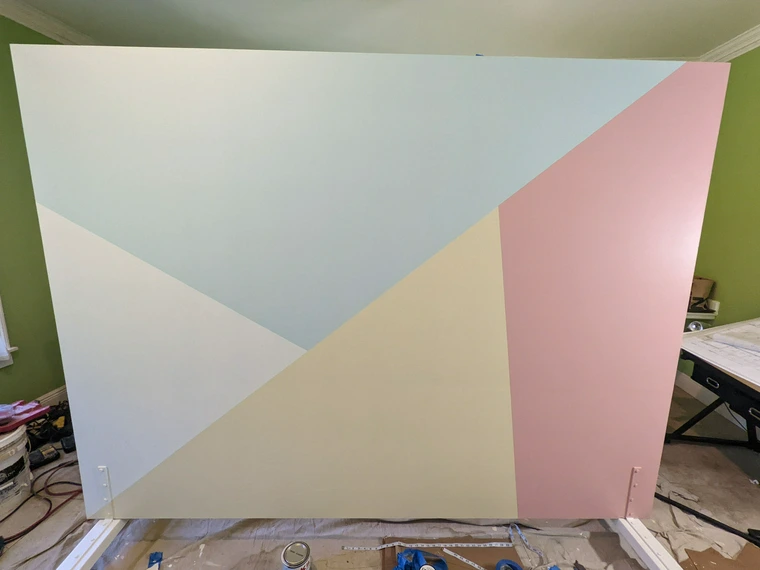
Very cool. Very fun, and you can't see any bleeding on the edges between colors, right? Now I could wheel it into my office.
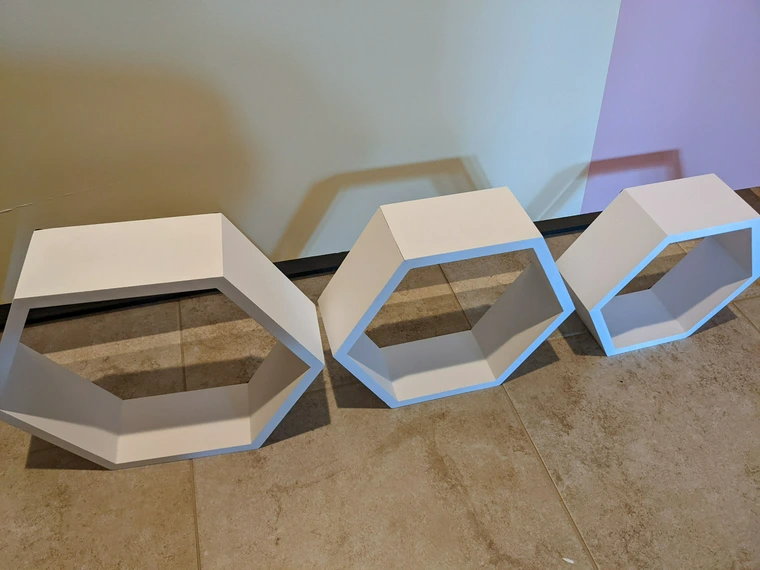
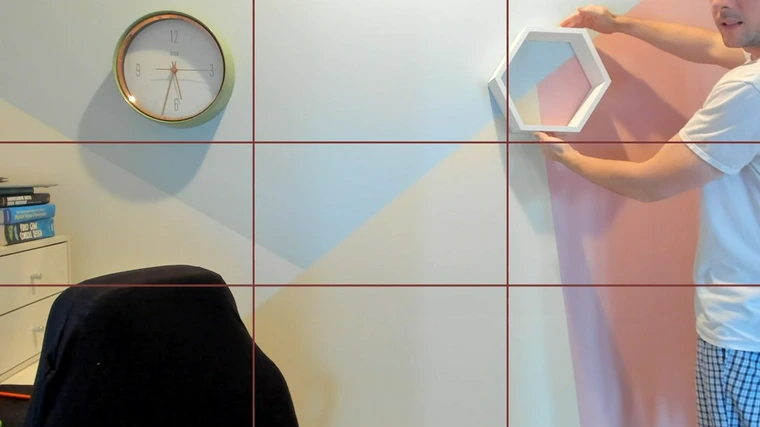
My sister picked out some shelves and a clock. I'm fairly decorignorant. After plotting out a general idea on paper, I used OBS Studio to view my webcam with a rule-of-thirds overlay, so I could see from a customer's perspective and align things according to the plan.
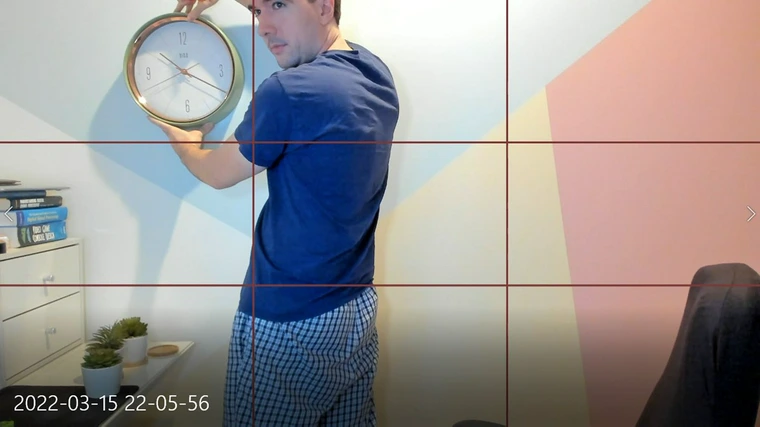


I really love the result. My manager commented on the clock, joking about how it proves I'm not faking my timecard snapshots. Part of the inspiration to build this was for my timecard snapshots that were taken every ten minutes. While most contractors didn't care how they looked while working remotely, I had a lot of fun with it.
The clock also helps a lot to show clients what time it is for me, so they know to say good morning or good afternoon. 😊 I used to have a clock overlay via OBS Virtual Camera, but that was causing some conflicts with our work tracker app.
The only gripe I had was the lighting – the shadow is too deep against the shelves and the clock. If I wanted to go the extra mile, I'd set up more deliberate lights instead of using the overhead ones.
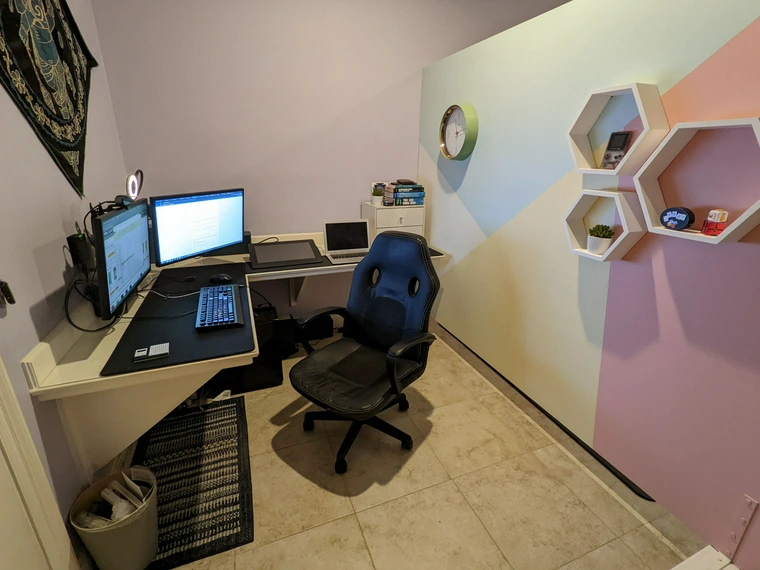
Fun stuff! Many other colleagues would avoid turning on their webcam in customer calls since it's easy to not look great while working remotely, but having a decent presentation contributes a lot towards customer engagement and loyalty. It really eases communication barriers. People like to comment on the GameBoy in the background – a throwback to my history with Nintendo consoles.
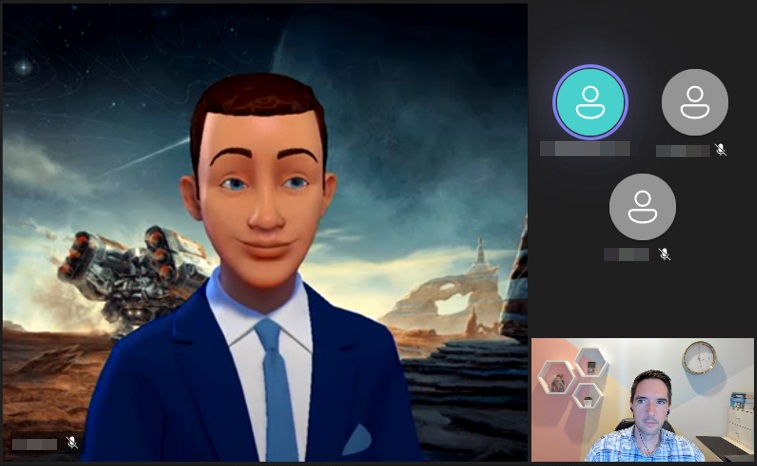
The backdrop is still behind me today and serves me well. I also like to see when clients do something with their presentation beyond the common blurred background. One of my clients even had a virtual avatar which I thought was amusing, but it wasn't because they were shy. It was because they worked for an organization with top-secret security and couldn't share any of their identity!
Got a neat remote office to share? Let me know!