I'd hope that I'd be good at this by now, considering how many software defect videos or customer instructions I've recorded at this point.
I wanted to share some of my setup to help you produce high quality videos for your team or clients with minimal overhead on your part.
First thing you will need is OBS Studio, the streaming software. Not a lot of people know that it is also great for simply producing screen recordings.
NOTE: The Virtual Camera plugin in OBS Studio can cause conflicts with some software (likely the fault of the other software). You can uninstall it by running virtualcam-uninstall.bat.

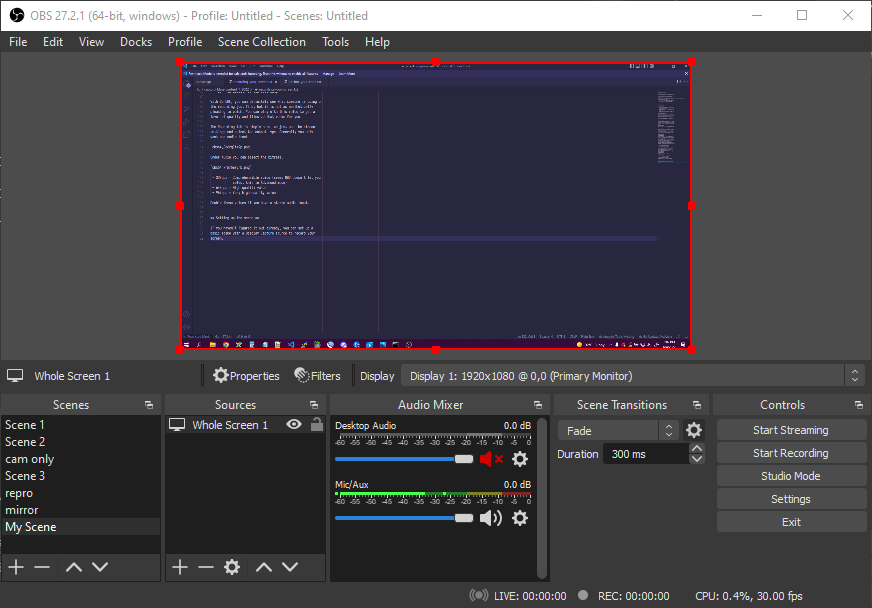
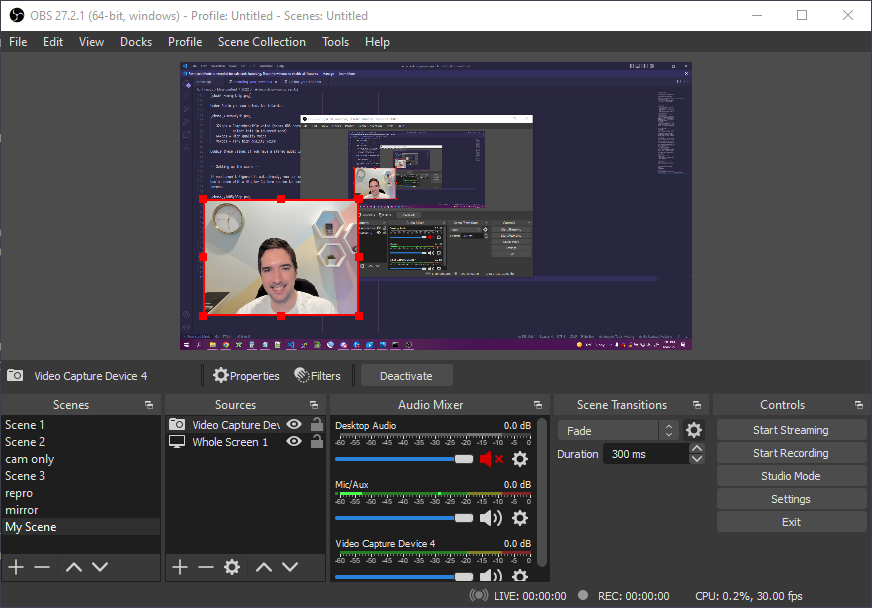
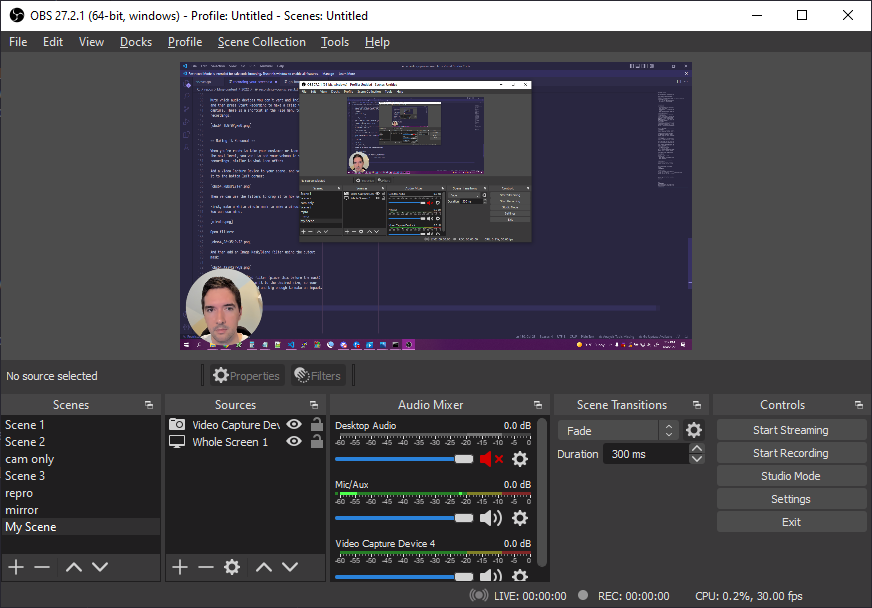
Here's the main window:
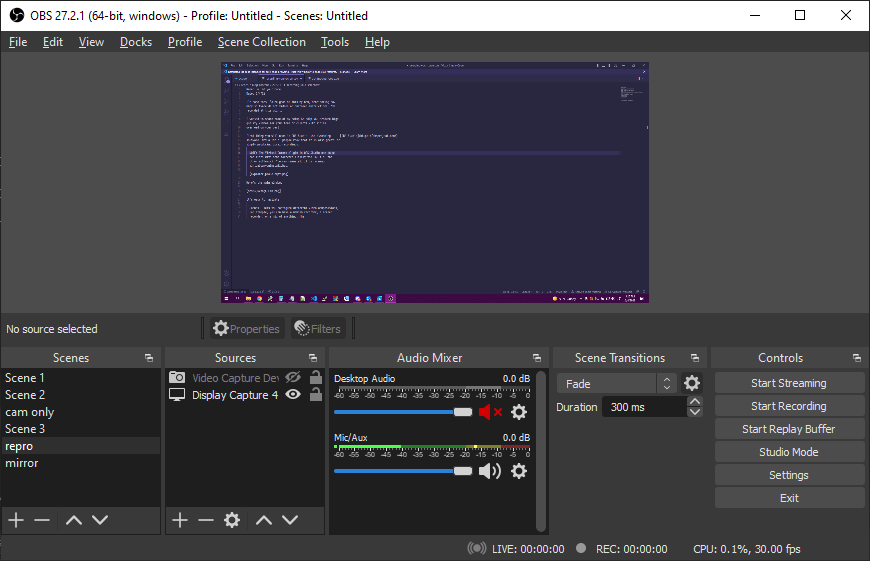
It's easy to navigate:
Scenes lets you configure different video compositions, for example, you can have a webcam recorder, a screen recorder, or a mix of anything.
The Sources section lets you add different video or audio sources to present to your viewer. Each scene is composed of Sources.
The Audio Mixer is useful for selecting what audio inputs you want to record with your video.
Configuring Recording Settings
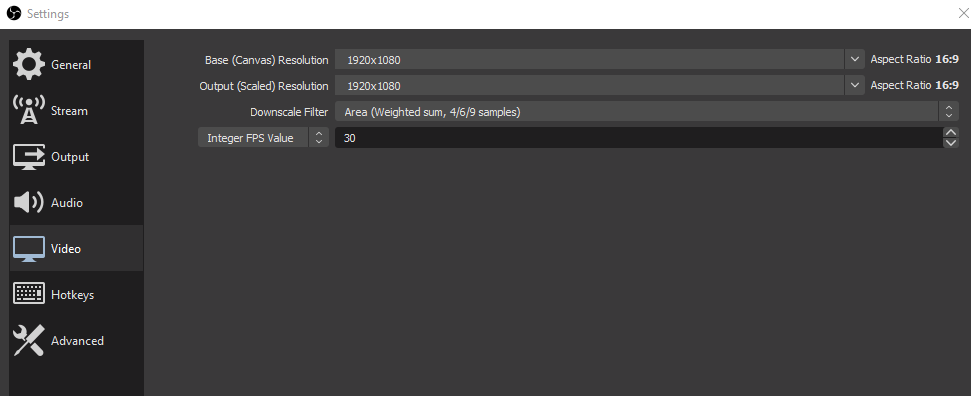
Click the Settings button, and we can configure screen recording for optimal output.
First thing to check is the Video tab. I'd recommend simply setting this to match your screen resolution for the Base (Canvas) Resolution, and then the Output should be 1080p. Downscale can use quite a bit of CPU, but if you have a decent machine, you can select a higher quality filter.
30 FPS is fine for most if not all screen recordings (even lower works). You can do 60 FPS if you want to waste some file space and have a smooth mouse.
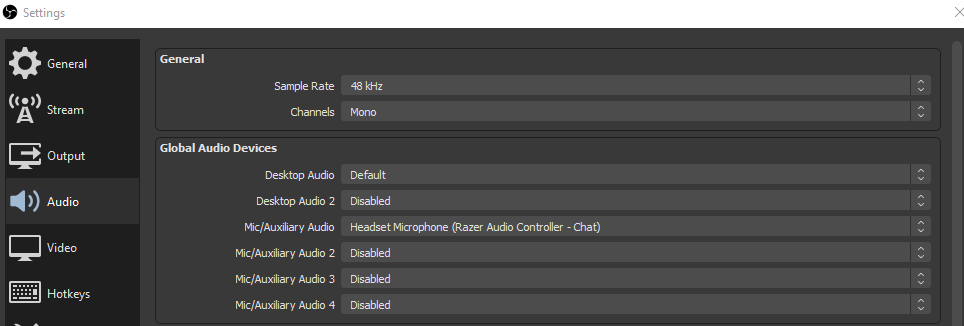
The Audio tab isn't so important, but if you want to save on filesize, you can select Mono as channels. If you just have voice, Mono is completely fine, and this means that 64kbps encoding has double the quality since it only has to encode one channel instead of two. I'd recommend at least 32kbps per channel for a comprehensible voice, with 64-96kbps being optimal.
Now for the Output. If you want to keep things simple, you can use the Simple output mode.
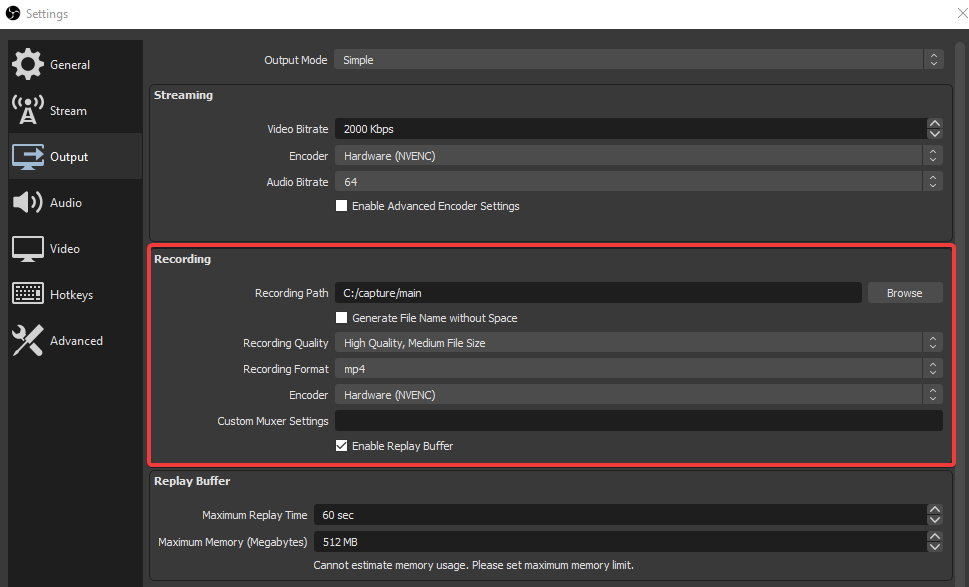
The main thing here is the Recording Quality. "High Quality, Medium File Size" will produce decently small files that you can easily share with people.
I've used these stock settings for a long time without an issue, while occasionally re-encoding using ffmpeg for smaller file sizes (for cases where the output is larger than 50MB, and I can't link that directly on Zendesk).
If you want to produce optimal file sizes, you can switch to Advanced encoding mode.
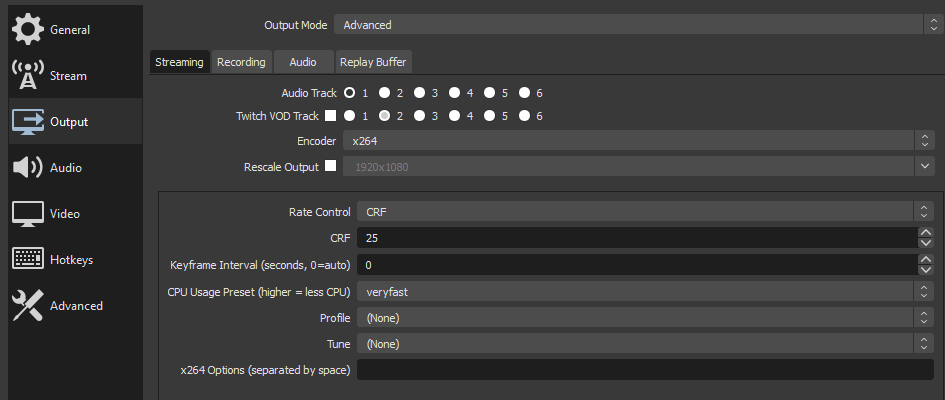
The main settings here are the Encoder and Rate Control. x264 is a CPU encoder, meaning you will want some extra CPU cores to do the encoding. You might also have a GPU encoder such as NVENC to save your CPU.
CRF (constant rate factor) is the rate control you want to use for screen recordings. It will result in smaller file sizes because large segments of the video are "idle" and it will use a lower bitrate to encode that. CRF is much better for content that isn't constant moving video.
Other encoders might have "CQP" instead of CRF, which is similar, but the scale is different. CRF ranges 0-51. CQP ranges 0-30. For both scales, lower values result in higher quality and larger filesize.
These are the CRF values I recommend: - 25 = high quality screen recording - 30 = decent quality screen recording - 35 - OK quality screen recording
With 35 CRF, you can definitely see what someone is doing on the recording just fine, but it is not as aesthetically pleasing to watch. You can play with this value to get a level of quality and filesize that works for you.
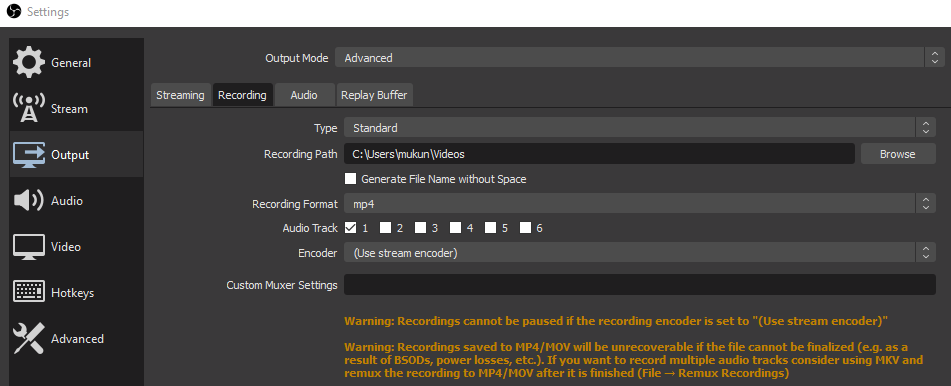
The Recording tab is simple here, we just use the stream settings and select the output type. Generally you only want one audio track.
Under Audio you can select the bitrate.
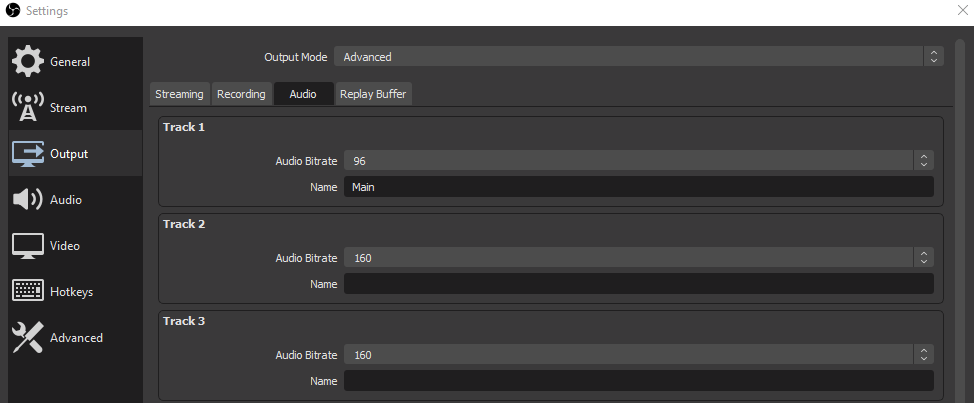
- 32kbps = Comprehensible voice (seems OBS doesn't let you select this in Advanced mode)
- 64kbps = High quality voice
- 96kbps = Very high quality voice
Double these values if you have a stereo audio input.
Setting up the scene
If you haven't figured it out already, you can set up a basic scene with a Display Capture source to record your screen.
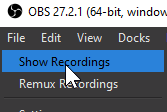
Mute which audio devices you don't want and include others and then press Start Recording to make a crisp video capture. There is a shortcut in the File menu to access your recordings.
Making it Personal
When you're ready to take your customer or team rapport to the next level, you want to add your webcam to your recordings, similar to what Loom offers.
Add a Video Capture Device to your scene, and you can shrink it to the bottom left corner:
PRO TIP: You can select "Deactivate when not showing" in the capture device options to not use the webcam when you don't have the source enabled. This means it will be slower to turn on when you toggle, but it won't stop other applications from using it when you have the source disabled.
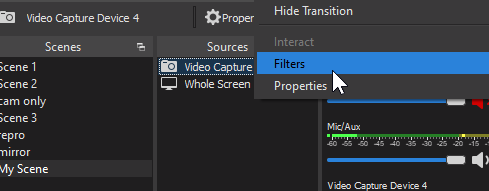
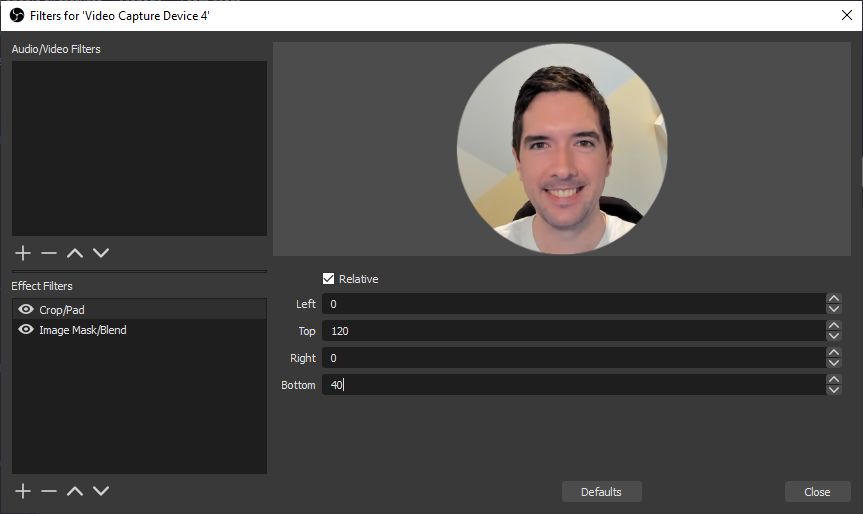
Next step is to use Filters to crop the webcam capture for a modern look.
First, make a white circle mask to make a circular cutout. You can use mine:

Open filters:
And then add an Image Mask/Blend filter using the cutout mask:
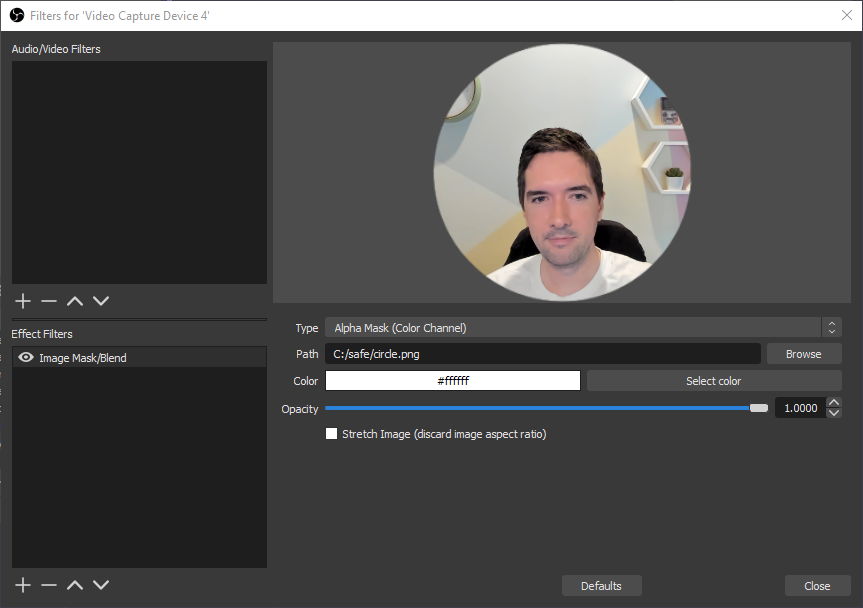
And then use a Crop/Pad filter (place this before the mask) to crop the input to zoom it to the desired size, so your beautiful head is centered and big enough to make an impact.
Simple enough, right? Drag it into place and you're all set to WOW your clients.
Later you can configure more scenes and swap between them easily (you can also hotkey them) for more interactive sessions.
Here is an example of the final result, 3.23mb filesize with 1.7mins of content. This is with CRF 30 where there is a noticable tradeoff with webcam quality. Typically I use a bit higher quality to have a clean webcam image.